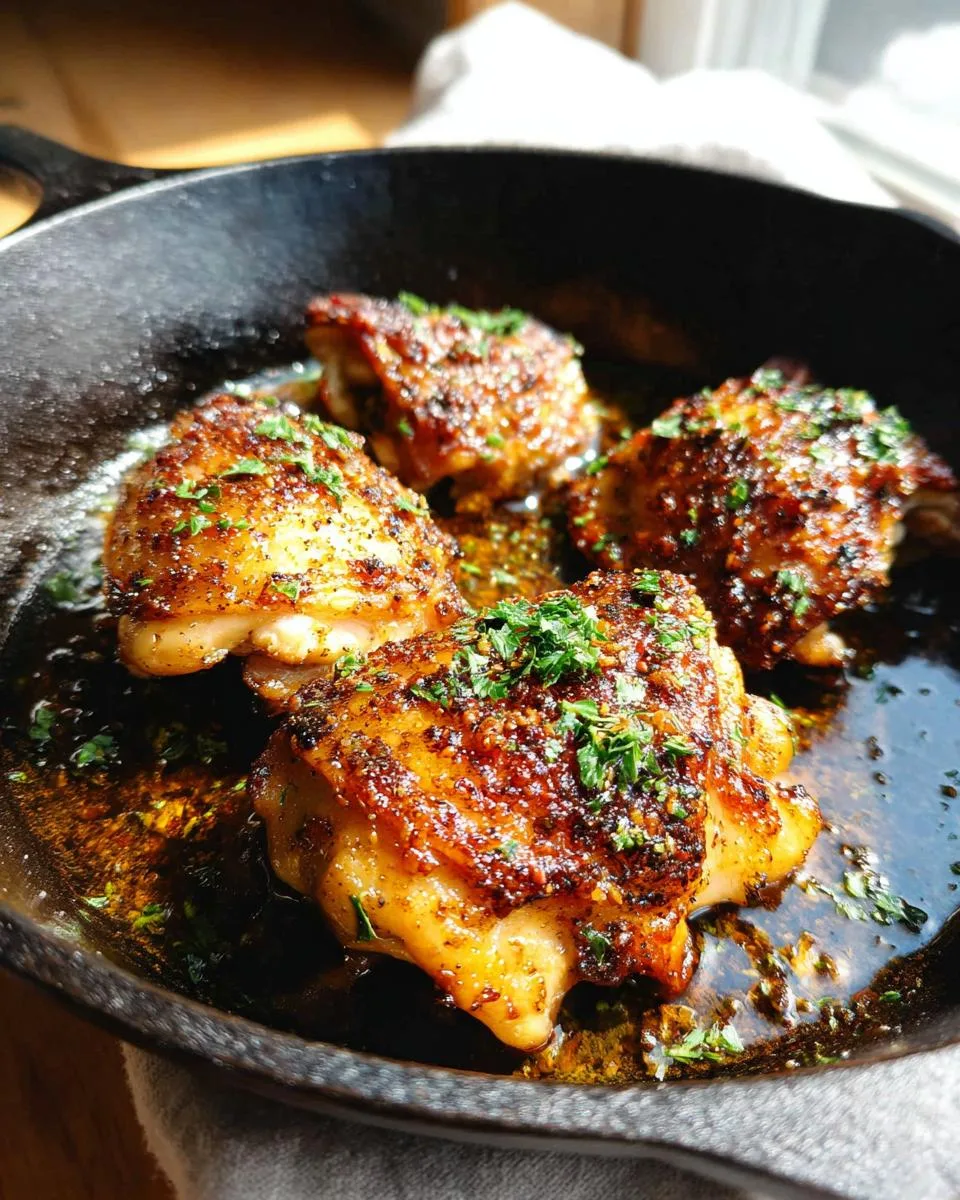
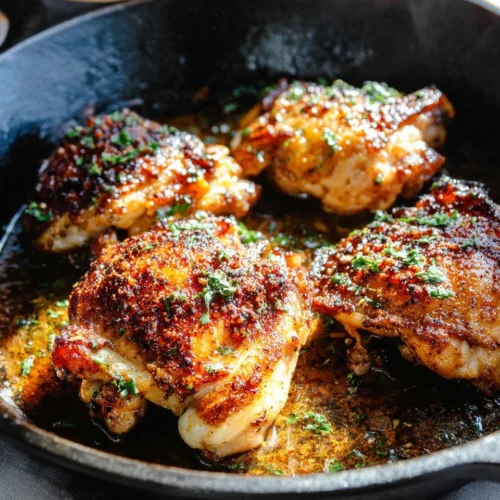
If you’ve ever stared into your fridge on a busy weeknight, hoping for a dinner miracle, I’m here to tell you it exists. It’s a tray of simple, glorious baked chicken thighs.
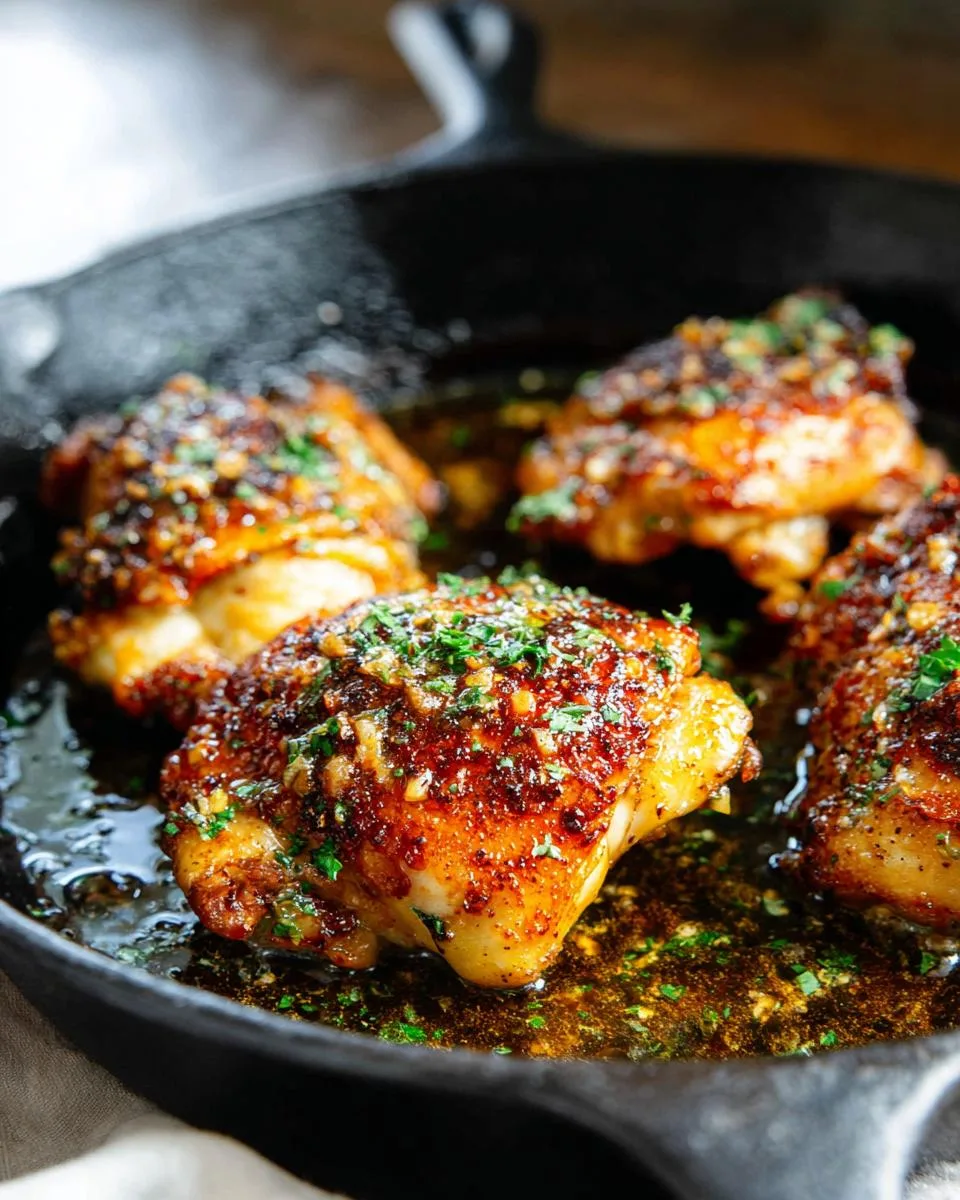
The secret to perfect baked chicken thighs isn’t complicated, it’s about trusting the humble thigh to deliver crispy skin and juicy meat every single time. This garlic and herb version is my family’s absolute favorite, turning just a few ingredients into a restaurant-quality meal in about 45 minutes. It’s the dish I make when I need something reliably delicious without any fuss. First, let’s walk through the recipe.
Table of Contents
Why You’ll Love These Baked Chicken Thighs
This recipe is my go-to for so many reasons. It solves dinner problems with simple, smart cooking. Here’s exactly why it will become yours too.
- Foolproof & Forgiving: Chicken thighs have more fat than breasts. This means they stay juicy even if you bake them a little longer. You almost cannot ruin them.
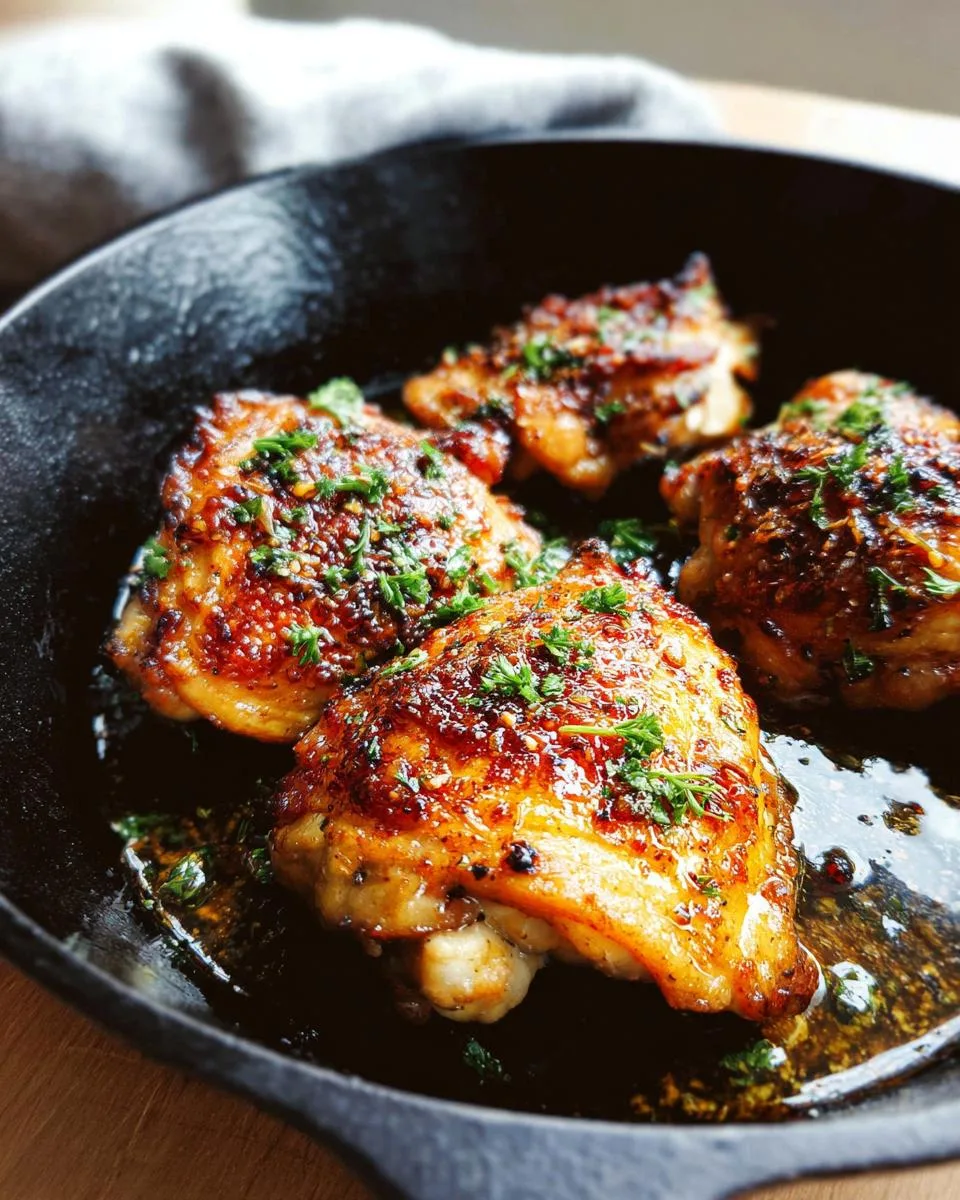
- Maximum Flavor, Minimal Effort: You cook everything in one pan. You sear the chicken on the stove, then bake it in the same skillet. The garlic and herbs melt into the butter to make a sauce. This sauce bastes the chicken as it cooks. It gives you deep flavor without extra work.
- Perfect Texture Every Time: The sear gives you a golden, crispy skin. The bake keeps the meat underneath tender and moist. This method guarantees a perfect combo every time.
- Weeknight Hero: You only need about 10 minutes of hands-on prep. The oven does the rest of the work. You get a meal that looks and tastes special in under an hour. My family knows this means dinner is ready fast.
- Versatile Foundation: Love this garlic herb version? You can change it easily. Use different spices, add lemon, or try a BBQ rub. This recipe is your starting point for many easy dinners.
It’s a simple way to make a dinner everyone will enjoy. Now, let’s look at what you need to get started.
Ingredients You’ll Need
Big flavor comes from simple things. This list is short, but every item plays a key role in making these baked chicken thighs amazing.
- The Chicken: 5 bone-in, skin-on chicken thighs (about 2.5 lbs total). Note: Do not swap for boneless skinless here. The bone keeps the meat juicy, and the skin is your ticket to that crispy, golden top. It’s the most important part of the recipe.
- Fat & Seasonings: 1 tablespoon olive oil, 1 teaspoon kosher salt, 1/2 teaspoon freshly ground black pepper. Note: Kosher salt is less salty by volume than table salt. If you use table salt, use a little less to avoid over-seasoning.
- The Garlic Herb Butter: 1/4 cup (4 tablespoons) unsalted butter, melted, 4 cloves garlic, minced, 1 tablespoon each fresh rosemary (chopped) and fresh thyme leaves, 1 tablespoon fresh parsley, chopped (for garnish). Note: Fresh herbs make this dish sing. If you only have dried, use 1 teaspoon each of dried rosemary and thyme. The flavor will be stronger, so use less.
That’s truly everything. These ingredients work together to create magic in your pan. Now, let’s get cooking.
How to Make Baked Chicken Thighs
This method is simple but smart. We start with a sear for crispy skin, then let the oven finish the job. Follow these steps, and you will have perfect baked chicken thighs.
Step 1: Prep and Preheat
First, set your oven to 400°F. Make sure the rack is in the middle. This gives even heat for baking. Now, take your chicken thighs. Use paper towels to pat the skin dry. Pat it really well. This step is the secret to crispy skin. Wet skin will steam in the pan and get soggy.
Step 2: Season and Sear
Sprinkle the salt and pepper all over the chicken. Do both sides. Get your large skillet ready. I use a cast iron pan because it holds heat so well. Make sure it is oven-safe. Heat the olive oil over medium-high heat. Wait until the oil shimmers.
You should see little waves in the oil. Now, place the thighs in the pan. Put them skin-side down. Do not move them. Let them cook for 5 to 6 minutes. You want a deep golden-brown color. If you try to flip them and they stick, they are not ready. Wait a bit longer.
Step 3: Create the Garlic Herb Butter
Once the skin is crispy and golden, flip the thighs over. You might see a lot of fat in the pan. You can spoon some out if you want. Leave a little bit. Now, pour your melted butter into the skillet.
Do it around the chicken, not directly on top. Quickly add the minced garlic, rosemary, and thyme. Let everything sizzle together for about 30 seconds. You will smell the amazing garlic and herb fragrance. That is your signal it is ready.
Step 4: Bake to Perfection
Take a spoon and scoop some of that fragrant butter from the pan. Drizzle it over the top of each chicken thigh. This starts the flavor party. Now, carefully move the whole skillet from the stove to your preheated oven.
Bake the chicken for 25 to 30 minutes. The best way to know it is done is with a meat thermometer. Insert it into the thickest part of a thigh, but avoid touching the bone. It should read 165°F. The skin will be dark golden, and the meat will be juicy.
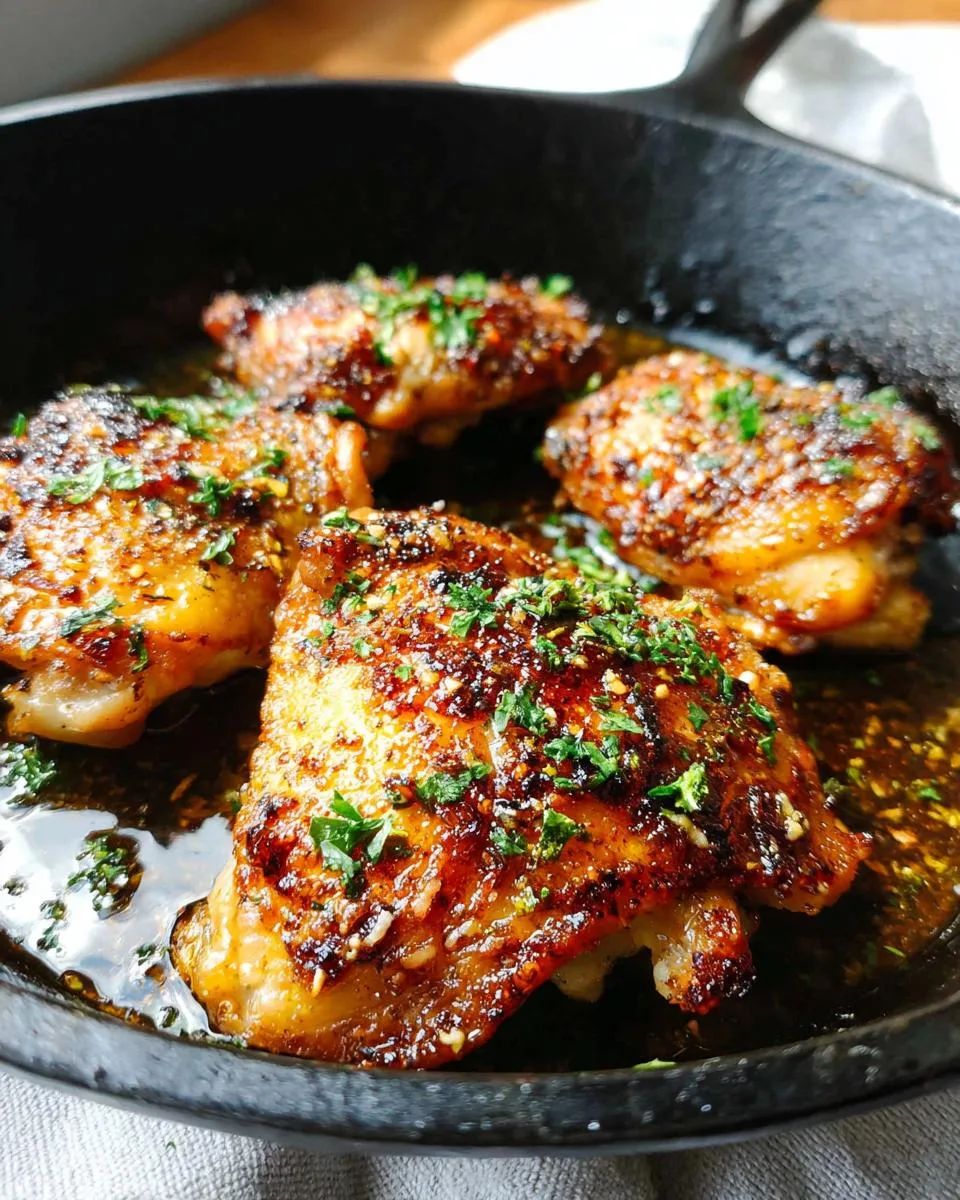
Step 5: Rest and Serve
Take the skillet out of the oven. Be careful, the handle will be hot. Spoon more of that delicious garlic herb butter from the pan over the chicken. Now, let the baked chicken thighs rest for 5 minutes. Do not cut them yet. This short rest lets the juices settle back into the meat. Finally, sprinkle the fresh chopped parsley over everything. It adds a bright, fresh finish. Now you are ready to serve your perfect baked chicken thighs.
Pro Tips for the Best Baked Chicken Thighs
These little tricks make a big difference. They are my secrets for turning a good dinner into a great one.
- Dry-Brine for Extra Crispiness: For the ultimate crispy skin, pat the thighs dry and season them with salt. Then, let them sit uncovered on a rack in your fridge for 1 to 4 hours before cooking. This draws moisture from the skin, making it crisp up like magic in the oven.
- Use a Thermometer: An instant-read thermometer is your best friend. It is the only way to know your meat is perfectly cooked without guessing. Check for 165°F in the thickest part, away from the bone.
- Don’t Crowd the Pan: If your skillet is small, sear the thighs in two batches. Crowding them creates steam. Steam makes the skin soggy instead of giving you that golden, crispy sear you want.
- Choose the Right Pan: A heavy, oven-safe skillet is key. I always use my cast iron pan. It gets very hot for the sear and holds that heat perfectly when you move it to the oven.
- Save the Juices: The garlic herb butter left in the pan is liquid gold. Do not waste it. Spoon it over the chicken when it comes out of the oven. You can also drizzle it over mashed potatoes or roasted veggies on the side. It adds incredible flavor.
Follow these tips, and you will have baked chicken thighs that are crispy, juicy, and full of flavor every time.
Common Mistakes to Avoid
Even the best recipes have little pitfalls. Knowing what to watch for makes you a confident cook. Here are the most common mistakes with baked chicken thighs and how to fix them easily.
- Skipping the Pat-Dry: Why it happens: We rush or think it doesn’t matter. How to fix it: Always take a minute to pat the chicken skin dry with paper towels. Wet skin will steam in the pan. This makes it rubbery, not crispy. Dry skin is the key to a golden crust.
- Moving the Chicken Too Soon: Why it happens: We get nervous and want to check. How to fix it: Let the thighs sear undisturbed for the full 5-6 minutes. The skin needs time to release from the pan. If you try to flip it and it sticks, it’s not ready. Wait until you can lift it easily.
- Overcooking: Why it happens: We fear undercooking and keep it in the oven too long. How to fix it: Even forgiving thighs can get tough. Use a meat thermometer. Pull them from the oven when the internal temperature hits 165°F in the thickest part, away from the bone.
- Using a Non-Oven-Safe Pan: Why it happens: We grab a regular skillet without checking. How to fix it: Before you start, confirm your pan’s handle is oven-safe to 400°F. If it’s not, you’ll have to transfer everything to a baking dish. This is messy and can cool the food down.
Don’t panic if you make a mistake. Cooking is a learning process. Just remember these tips next time.
Delicious Variations
Once you master this garlic herb version, the world opens up. These baked chicken thighs are a perfect canvas for new flavors. Here are three easy twists I love to make.
- Lemon Herb: Add the zest of one lemon to the melted butter with the garlic and herbs. Place thin lemon slices in the skillet around the chicken before baking. The lemon infuses the butter with a bright, sunny flavor that pairs perfectly with the crispy skin.
- Spicy Honey Garlic: Swap the rosemary and thyme for 1 teaspoon of paprika and a pinch of cayenne pepper in the butter. After baking, brush the hot thighs with a simple glaze made from 2 tablespoons of honey and 1 tablespoon of hot sauce. It creates a sticky, sweet, and spicy coating that is irresistible.
- BBQ Dry Rub: For a smoky taste, replace the salt and pepper with 2 tablespoons of your favorite BBQ dry rub. Pat it onto the dry chicken skin. Skip making the garlic herb butter entirely. Just sear and bake as directed. The rub caramelizes on the skin, giving you a flavor-packed crust.
Try one of these next time. It makes the same easy recipe feel brand new.
Serving Suggestions
These baked chicken thighs are a perfect main dish. They shine on their own but also love company. Here are my favorite ways to serve them, depending on the day.
- Classic Comfort Dinner: This is our Tuesday night favorite. Serve the thighs over a big pile of creamy mashed potatoes. Add a side of steamed green beans. The garlic herb butter from the pan is the best gravy. Pour it right over the potatoes for extra flavor.
- Fresh & Light Meal: For a sunny afternoon, pair the chicken with a crisp arugula salad. Toss the greens with a simple lemon vinaigrette. Add some crusty bread on the table. Use the bread to soak up every last bit of the delicious pan juices.
- Meal Prep Power: Let the baked chicken thighs cool after dinner. Slice the meat off the bone. Pack it into containers with cooked quinoa and roasted broccoli. Drizzle with a lemon vinaigrette. You have a complete, flavorful lunch ready for the next day.
- Easy Entertaining: Double the recipe when friends come over. Serve everything on a large platter. Add roasted carrots and potatoes around the chicken. It looks impressive but is so simple to make. Your guests will love it.
No matter how you serve them, these juicy baked chicken thighs will make the meal special.
FAQs About Baked Chicken Thighs
Can I use boneless, skinless chicken thighs?
Yes, but you need to change the method. Skip the searing step completely. Just season the thighs and place them in a baking dish. Pour the garlic herb butter over them and bake at 400°F for 20 to 25 minutes. The chicken will be juicy and flavorful, but it will not have crispy skin.
How do I store and reheat leftovers?
Store leftover chicken in an airtight container in the fridge for up to 3 days. For reheating, use a 350°F oven or an air fryer for a few minutes until warm. This helps bring back some crispiness to the skin. The microwave will make the skin soft.
What is the calorie count for one baked chicken thigh?
Nutritional information can change based on your exact ingredients. As a general guide, one thigh made with this recipe is about 350 calories. To get a precise number, use a nutrition calculator with your specific brands and measurements.
My skin isn’t crispy. What went wrong?
The most common reason is not drying the skin enough before cooking. Always pat the chicken very dry with paper towels. Also, make sure your skillet is hot enough before you add the chicken. You should see the oil shimmering in the pan.
Can I make this ahead for a party?
Yes, this is a great dish for entertaining. You can sear the chicken and prepare the garlic herb butter up to an hour before guests arrive. Keep the skillet covered at room temperature. Then, just pop it in the oven to bake when you are ready to serve.
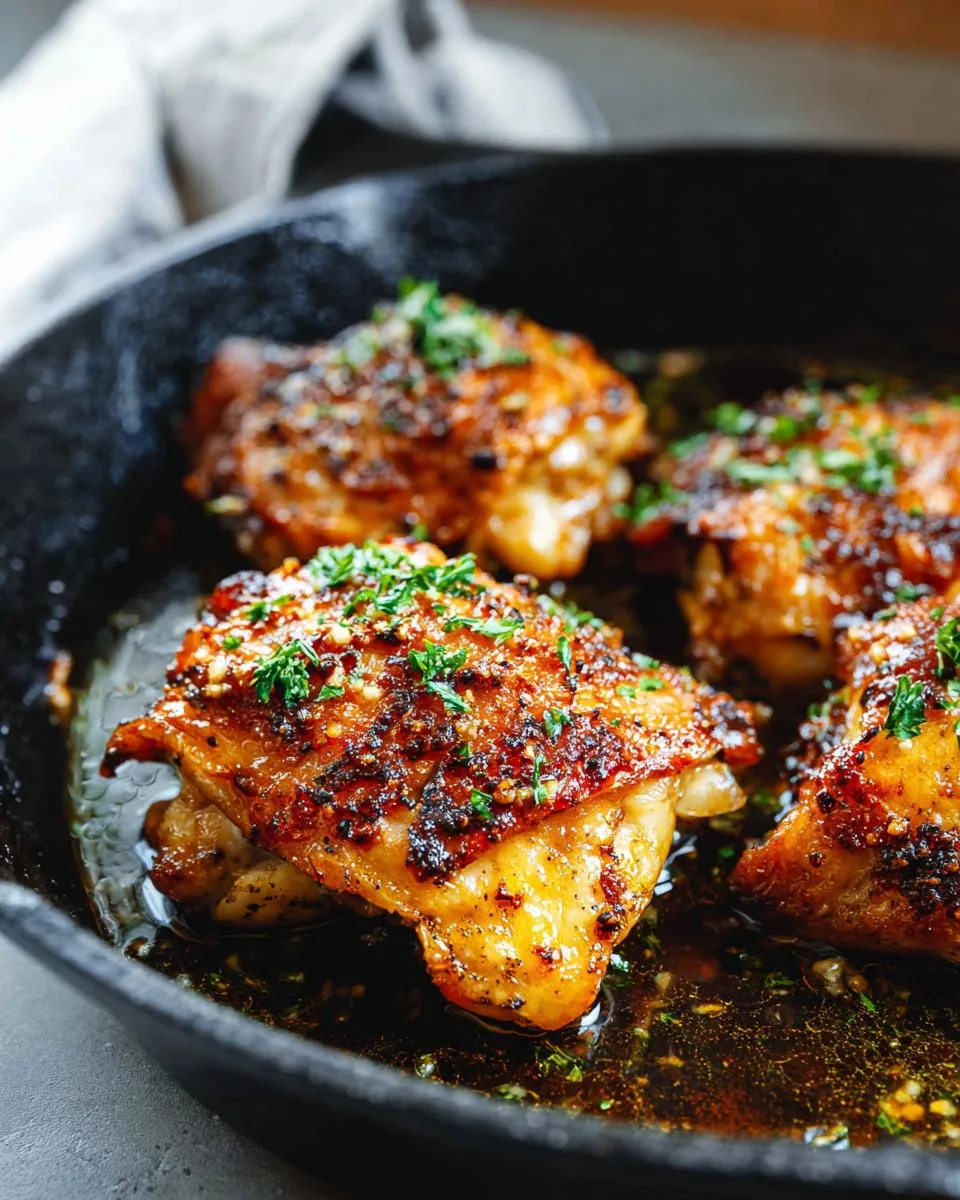
Time to Enjoy Your Dinner
You’ve made it. In less than an hour, you have a plate of golden, crispy baked chicken thighs with juicy, flavorful meat inside. This recipe proves that easy cooking can still feel special. It’s your new weeknight secret for a dinner that always works.
I hope your family loves it as much as mine does. I would love to hear how yours turned out. Did you try a fun variation? Tell me in the comments below. For more simple, family-friendly recipes like this, follow along on Pinterest. Now, go enjoy that perfect dinner.
Baked Chicken Thighs
Equipment
- Large oven-safe skillet (cast iron works well)
- Paper towels
- Meat thermometer
Ingredients
- 5 bone-in, skin-on chicken thighs (about 2.5 lbs total)
- 1 tablespoon olive oil
- 1 teaspoon salt
- ½ teaspoon black pepper
- ¼ cup unsalted butter, melted
- 4 cloves garlic, minced
- 1 tablespoon fresh rosemary, chopped
- 1 tablespoon fresh thyme leaves
- 1 tablespoon fresh parsley, chopped
Instructions
- Preheat your oven to 400°F. Place the oven rack in the center position.
- Pat the chicken thighs thoroughly dry with paper towels.
- Season the chicken thighs on all sides with salt and black pepper.
- Heat the olive oil in a large oven-safe skillet over medium-high heat.
- Place the seasoned chicken thighs skin-side down into the hot skillet. Sear for 5-6 minutes, until the skin is golden brown and crisp.
- Flip the chicken thighs. If there is excess fat in the skillet, spoon most of it out, leaving a little behind.
- Add the melted butter to the skillet. Stir in the minced garlic, rosemary, and thyme. Let them sizzle for about 30 seconds until fragrant.
- Spoon some of the garlic herb butter from the skillet over the top of each chicken thigh.
- Transfer the entire skillet to the preheated oven.
- Bake for 25-30 minutes, or until the chicken reaches an internal temperature of 165°F on a meat thermometer inserted into the thickest part of the thigh, avoiding the bone.
- Remove the skillet from the oven. Spoon more of the garlic herb butter from the pan over the chicken.
- Sprinkle the freshly chopped parsley over the chicken just before serving.