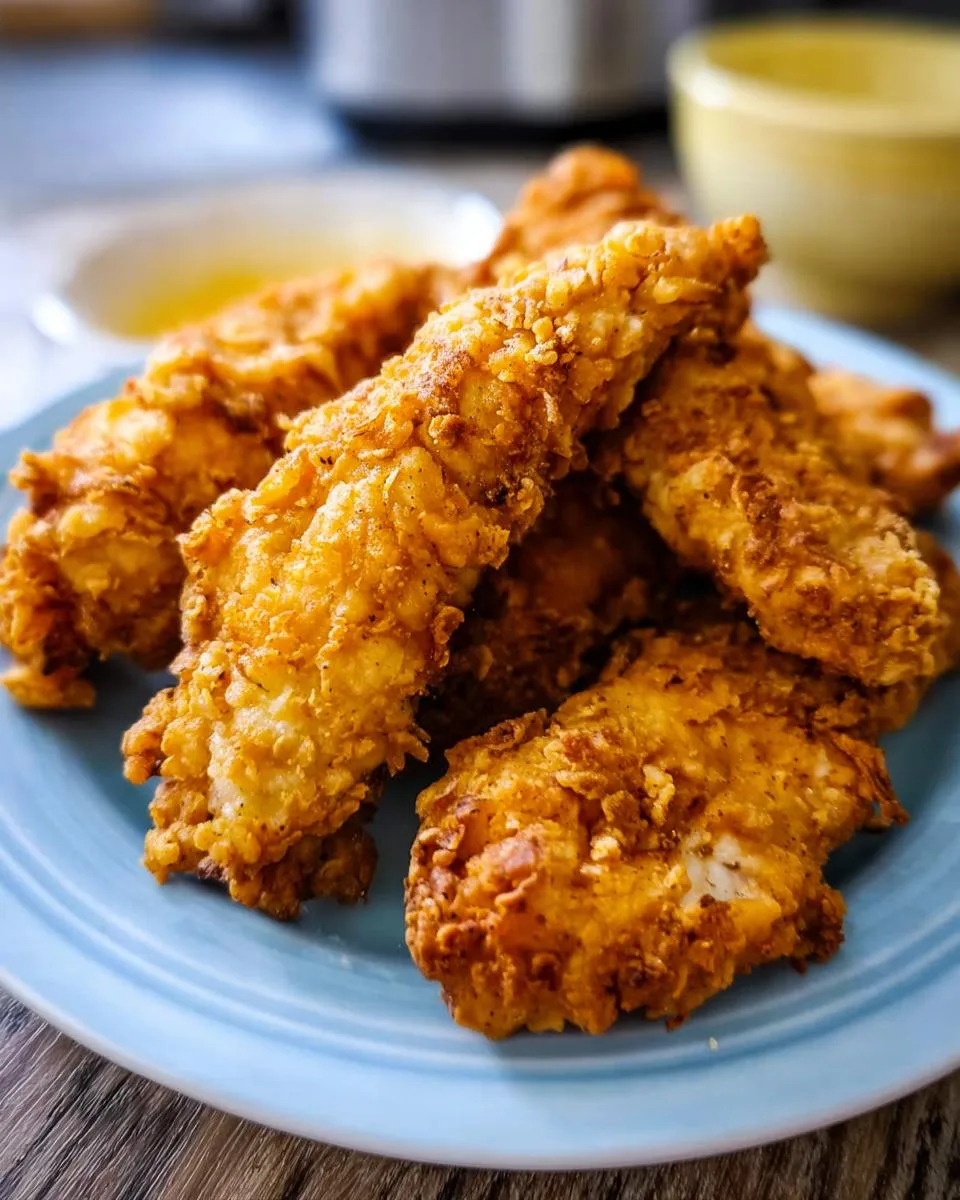
I’ll never forget the smell of sizzling oil and crispy chicken filling my Mama’s kitchen. It meant someone was home, someone cared, and dinner was going to be good. That’s the feeling I chase with every batch of these homemade Fried Chicken Tenders.
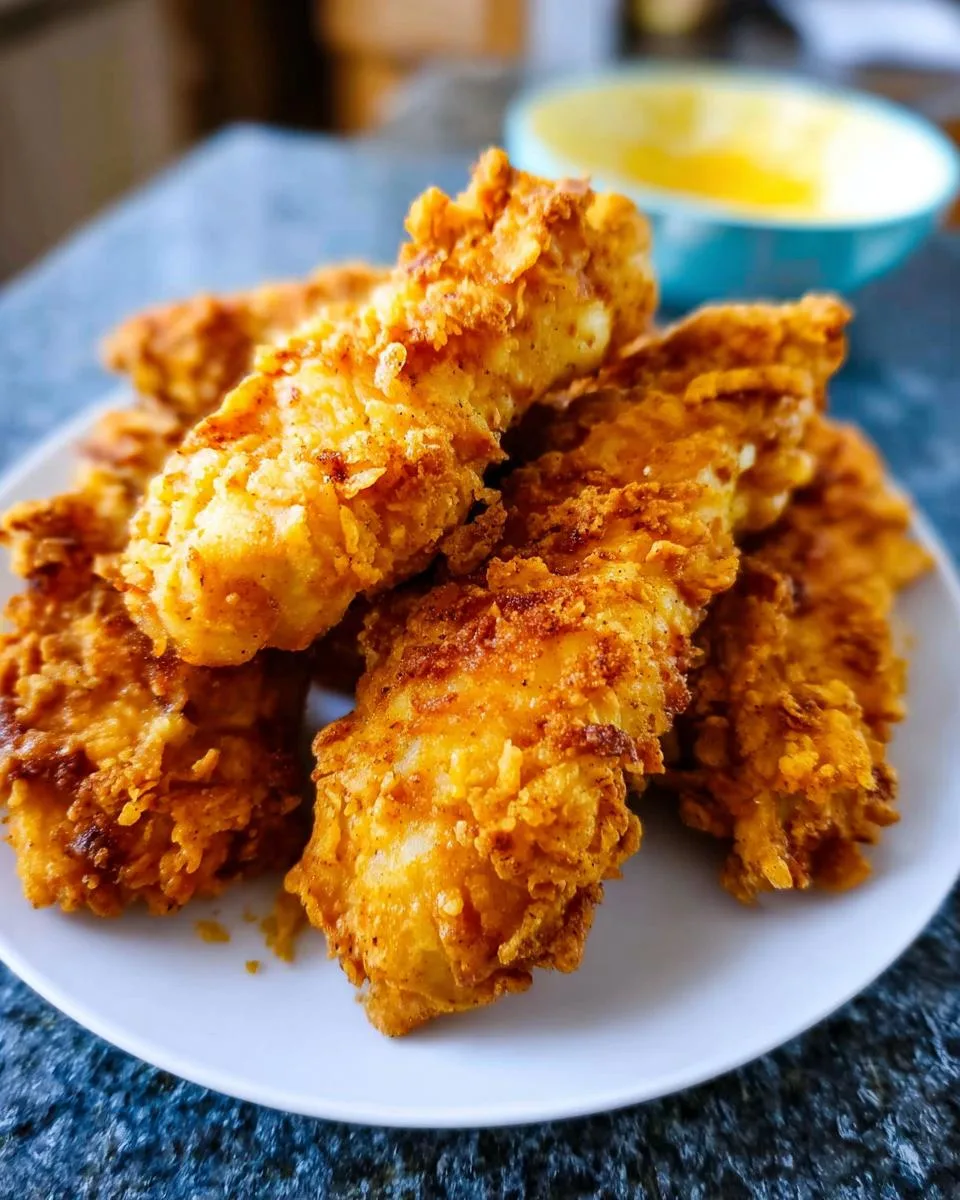
This recipe is my foolproof method for juicy, flavorful chicken inside a golden, shatteringly crisp crust. The secret isn’t complicated. It’s about a simple buttermilk soak and a double-dredge coating that locks in all the goodness. Whether it’s a busy Tuesday or game day Saturday, these tenders are your ticket to a happy, satisfied table. Let’s break it down step by step.
Table of Contents
Why You’ll Love These Homemade Fried Chicken Tenders
This fried chicken tenders recipe is my go-to for a reason. It delivers that perfect combination of crunch and juicy flavor we all crave, without any fuss. Here is exactly why it works so well every single time.
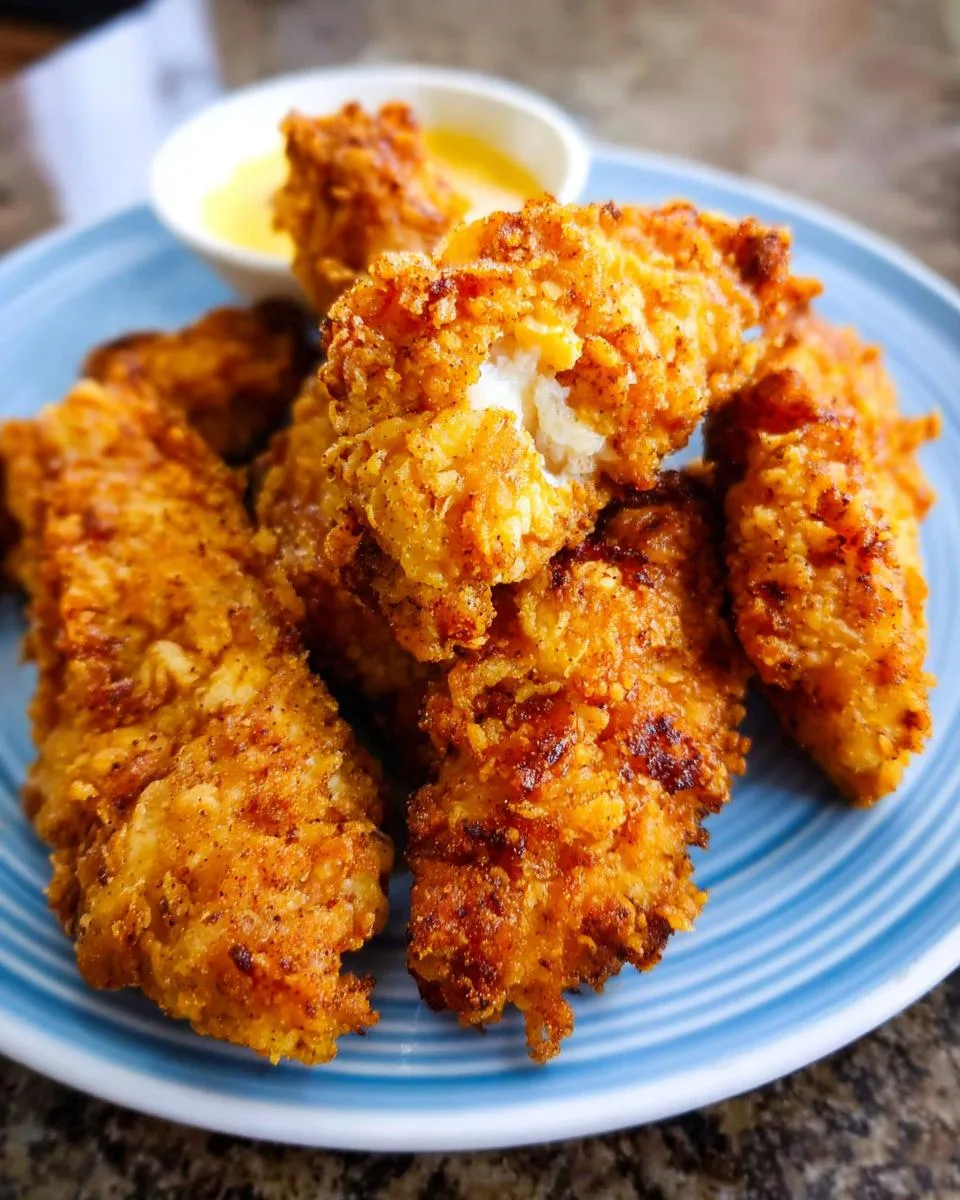
- Guaranteed Crispy Texture: The double dredge method (flour, egg, flour again) builds a thick, shaggy armor. Frying at the right temperature makes it turn a deep golden brown and stay incredibly crunchy.
- Juicy and Flavorful Interior: Soaking the chicken in seasoned buttermilk is non-negotiable. It tenderizes the meat from the inside out and gives every bite a savory, well-seasoned taste.
- Faster Than Whole Chicken: Using tenderloins means they cook in just 4-5 minutes. You can have a platter of hot, homemade fried chicken tenders on the table in under 30 minutes of active cooking.
- Versatile for Any Occasion: My family eats these for simple weeknight dinners with fries. They are also the first thing to disappear during Saturday football games or at a casual backyard gathering.
- Built on Reliable Technique: This is not a fancy trick. It is the classic, tested way to fry chicken. Follow these straightforward steps, and you will get fantastic, consistent results.
This recipe turns a simple concept into something truly special for your table.
Ingredients You’ll Need
Every item in this lineup has a job to do, working together to build that perfect crispy, juicy bite. Let us gather what we need.
- The Chicken & Marinade:
- 2 pounds chicken tenderloins: Pre-cut tenders are ideal for even cooking. No tenderloins? Simply slice boneless, skinless chicken breasts into 1-inch strips.
- 1 ½ cups buttermilk: This is the tenderizing magic. No buttermilk? Make a quick substitute: mix 1 ½ cups milk with 1 ½ tablespoons of lemon juice or white vinegar. Let it sit for 5 minutes until it thickens slightly.
- 2 teaspoons salt & 2 teaspoons sugar: The salt seasons the chicken deeply. The sugar balances flavor and promotes beautiful, golden browning.
- ¼ teaspoon paprika & ¼ teaspoon garlic powder: These add a warm, savory background note that makes the flavor pop.
- The Dredging Station:
- 2 cups all-purpose flour: This is the base for our crunchy crust.
- 1 ½ teaspoons salt & ½ teaspoon black pepper: We season the flour itself so every layer tastes great.
- 2 large eggs & 3 tablespoons milk: Whisked together, this wet batter acts like glue, helping the flour coating stick securely to the chicken.
- 1 teaspoon baking powder: My little secret! A touch of baking powder in the wet mix helps the coating become light and extra crispy as it fries.
- For Frying:
- 3 to 4 cups vegetable oil: You need enough to reach about 3 inches deep in your pot. A neutral oil with a high smoke point, like vegetable, canola, or peanut oil, is perfect for the job.
Using fresh, simple ingredients and measuring them well is the first step to fried chicken tenders you will be proud of.
How to Make Fried Chicken Tenders
Making perfect fried chicken is about patience and process. Follow these steps in order for the juiciest, crispiest tenders you have ever made at home.
Step 1: Marinate the Chicken
In a large bowl, whisk together the buttermilk, salt, sugar, paprika, and garlic powder. Drop in your chicken tenderloins. Use your hands to make sure every piece is fully covered in the creamy marinade. Cover the bowl tightly and place it in the refrigerator. This soak is your most important step. Let the chicken marinate for at least 1 hour to tenderize. For the most flavorful results, plan for a full 4 hours. Do not rush this.
Step 2: Prepare Your Dredging Station
Set up two shallow dishes right next to each other on your counter. This is your assembly line. In the first dish, combine the all-purpose flour, salt, and black pepper. Use a fork to mix it well. In the second dish, crack in the two eggs. Add the milk and the teaspoon of baking powder. Whisk it all together until the mixture is completely smooth and no streaks of egg white remain. This wet batter is what makes the crispy coating stick.
Step 3: Coat the Chicken Tenders
Take a piece of chicken from the buttermilk. Let the extra marinade drip off back into the bowl. Now, follow this order for the perfect double dredge. First, press the chicken into the flour mixture, coating it completely. Next, dunk it fully into the egg batter. Let the excess drip off for a second. Finally, place it back into the flour for one more coating. Gently press the flour onto all sides to form a shaggy, textured layer. Shake off any loose flour and place the coated tender on a clean plate. Repeat with all pieces.
Step 4: Heat the Oil to the Correct Temperature
Pour your vegetable oil into a heavy, deep pot. A Dutch oven is ideal. You want the oil to be about 3 inches deep. Turn your burner to medium-high heat. Attach a cooking thermometer to the side of the pot. This tool is non-negotiable for success. Wait for the oil to heat to 350 degrees Fahrenheit. If you add the chicken before the oil is hot enough, it will soak up oil and taste greasy instead of crispy.
Step 5: Fry the Chicken Tenders in Batches
Once your oil is at 350°F, you are ready to fry. Use kitchen tongs to carefully lower 4 or 5 coated tenders into the hot oil. Do not drop them in, as the oil can splash. Do not crowd the pot. Fry the tenders for 4 to 5 minutes. Then, flip them over and fry for another 4 to 5 minutes. They should become a deep, golden brown. Watch your thermometer. The temperature will drop when you add the chicken. Adjust your burner to keep the oil between 325°F and 350°F for the entire cooking time.
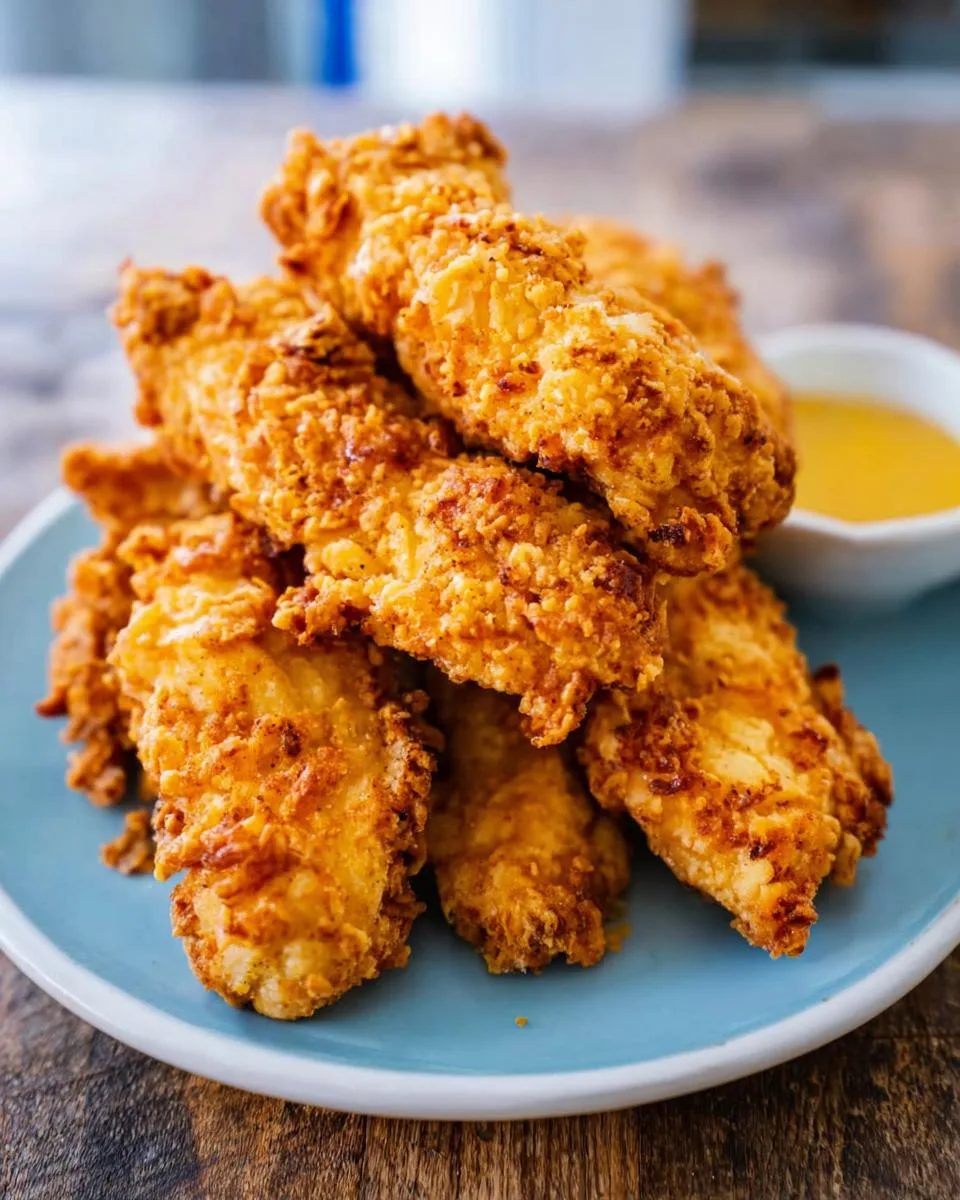
Step 6: Drain and Serve Immediately
When the tenders are beautifully golden, use a slotted spoon to lift them out of the oil. Let the excess oil drip back into the pot. Do not place them on paper towels. Instead, set them on a wire rack that is placed over a baking sheet. This allows hot air to circulate all around the tenders. It keeps the bottom from getting soft and steamy. Serve your fried chicken tenders right away while they are piping hot and supremely crispy.
Pro Tips for the Best Fried Chicken Tenders
A few simple tricks can take your homemade fried chicken tenders from good to absolutely legendary. These are the little things I have learned through many happy (and a few messy) batches.
- Use a Thermometer: This is the single most important tip for perfect fried chicken tenders. Consistent oil temperature is everything. If the oil is too cool, the chicken absorbs it and turns greasy. If it is too hot, the outside burns before the inside cooks. A simple clip-on thermometer guarantees crispy success.
- Let the Coated Chicken Rest: After you finish the double dredge, let the coated tenders sit on the plate for 5 to 10 minutes before frying. This short rest lets the coating set and dry a bit. It helps prevent the breading from sliding off in the hot oil.
- Maintain Your Frying Batches: Patience is key. Always fry in small batches of 4 to 5 pieces. Adding too much chicken at once makes the oil temperature plummet. This leads to soggy, unevenly cooked tenders. Let the oil come back to 350°F between batches.
- Choose the Right Pot: A heavy-bottomed Dutch oven or cast iron skillet is your best friend. These pots hold heat steadily, which helps you maintain that perfect frying temperature range without constant burner adjustments.
- Test for Doneness: Golden brown color is a great visual cue, but internal temperature is your final proof. The tenders are done and safe to eat when a meat thermometer inserted into the thickest part reads 165 degrees Fahrenheit.
Follow these tips, and you will master the art of crispy, juicy fried chicken every single time.
Common Mistakes to Avoid
We all make little mistakes in the kitchen. I have certainly dropped a whole batch into oil that was not hot enough. Knowing what to watch for makes this recipe foolproof. Here are the common pitfalls and how to easily avoid them.
- Skipping the Marinade: WHY: The buttermilk soak is not just for flavor. It breaks down the proteins in the chicken, making it incredibly tender and juicy. Skipping it means tougher, drier tenders. HOW: Always marinate for at least 1 hour. If you can, plan for 4 hours. It is a simple step with a huge payoff.
- Frying at the Wrong Temperature: WHY: Without a thermometer, you are guessing. Oil that is too cool (under 325°F) lets the chicken absorb oil and become greasy. Oil that is too hot (over 350°F) burns the coating before the inside cooks. HOW: Use a clip-on thermometer. Keep the oil between 325°F and 350°F for the entire frying time.
- Overcrowding the Pot: WHY: Adding all the chicken at once is like throwing an ice cube into your oil. The temperature drops fast, leading to soggy, pale, and unevenly cooked tenders. HOW: Fry in small, manageable batches of 4 to 5 pieces. Let the oil heat back up to 350°F before adding the next batch.
- Draining on Paper Towels: WHY: Paper towels trap steam and condensation right under the chicken. This makes the beautiful crispy bottom turn soft and soggy. HOW: Drain your fried chicken tenders on a wire rack set over a baking sheet. The air circulation keeps the entire crust perfectly crunchy.
Do not panic if your first batch is not perfect. Just remember these tips for your next one.
Delicious Variations
Once you master the classic recipe, it is fun to play with flavors and methods. These easy variations let you customize your fried chicken tenders for any craving or dietary need.
- Spicy Fried Chicken Tenders: Crave some heat? Add 1 teaspoon of cayenne pepper and ½ teaspoon of chili powder directly to your flour mixture. This gives the crispy coating a warm, building kick that is perfect with cool ranch dressing.
- Herb-Crusted Tenders: For a fragrant, savory twist, mix 1 tablespoon of dried parsley and 1 teaspoon of dried oregano into the flour. The herbs create a beautifully speckled, aromatic crust that tastes amazing.
- Gluten-Free Fried Chicken Tenders: You can easily make this recipe gluten-free. Simply substitute the all-purpose flour with a trusted 1:1 gluten-free flour blend. The double-dredge method and cooking times stay exactly the same for a crispy result everyone can enjoy.
- Air Fryer Chicken Tenders: Want a lighter option with less oil? After dredging, arrange the tenders in your air fryer basket in a single layer. Lightly spray them with cooking oil. Cook at 400°F for 10-12 minutes, flipping them halfway through. They will be crispy and golden, just with less grease.
Do not be afraid to make this recipe your own. A simple switch can create a whole new favorite.
Serving Suggestions
These fried chicken tenders are a superstar main dish all on their own, but the right sides can turn them into a memorable meal for any occasion. Here are my favorite ways to serve them.
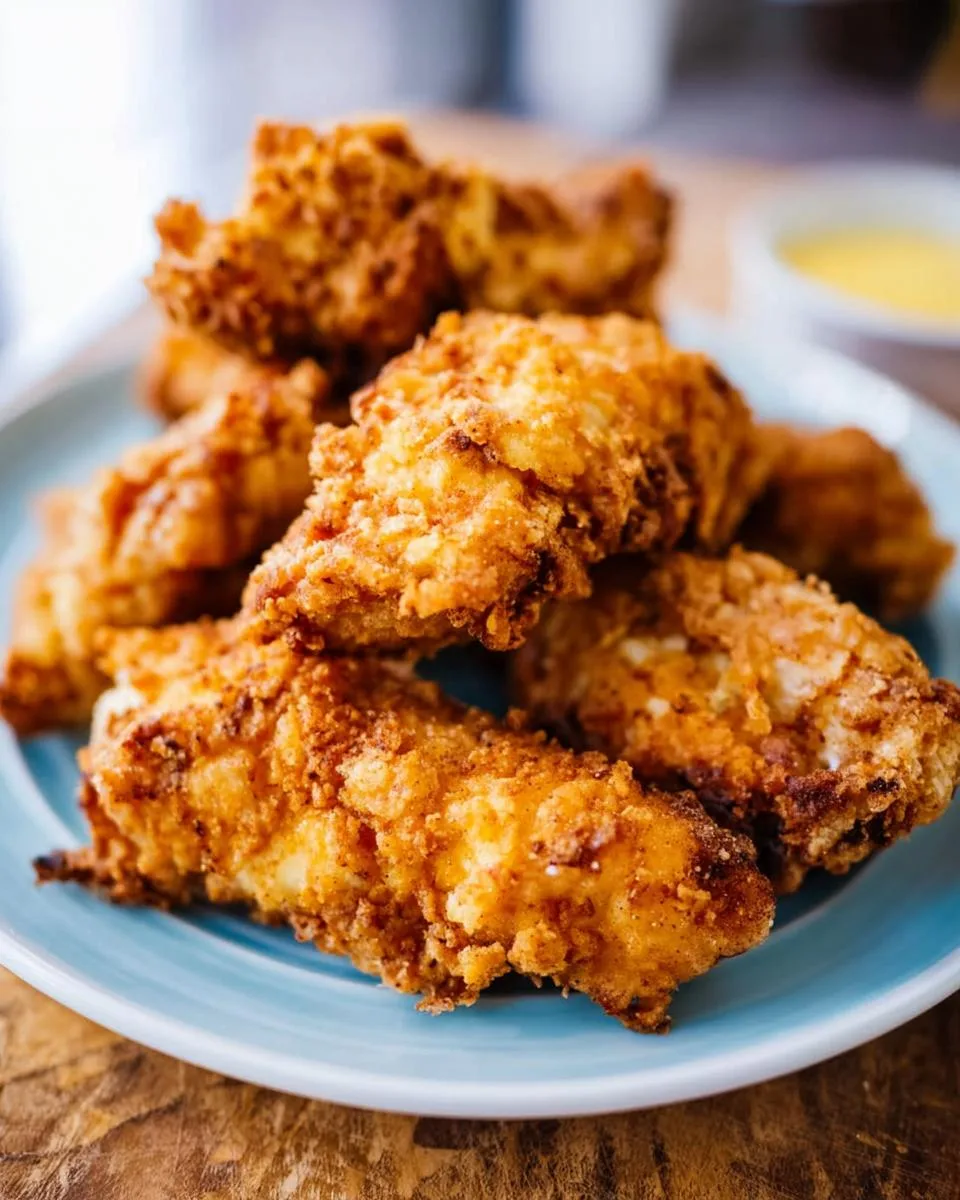
- For a Classic Comfort Food Dinner: Create a perfect plate with a scoop of creamy mashed potatoes, a tangy homemade coleslaw, and a generous drizzle of honey mustard. It is the ultimate satisfying meal for a cozy weeknight.
- For Game Day or a Party: Pile the hot tenders high on a big platter. Surround them with crispy french fries, dill pickle spears, and small bowls of dipping sauces like cool ranch, smoky barbecue, and spicy mayo. Let everyone build their perfect bite.
- For a Picnic or Lunchbox: These tenders travel well once cooled. Pack them with a soft buttermilk biscuit, some fresh apple slices, and a small container of your favorite sauce. It is a lunch everyone will look forward to.
- As a Salad Topper: For a lighter option, let a few tenders cool completely. Slice or chop them and scatter them over a big, fresh garden salad. They add a fantastic crunchy texture and savory flavor that beats store-bought croutons any day.
No matter how you serve them, these crispy tenders are always the star of the table.
FAQs About Fried Chicken Tenders
You have questions, I have answers. Here are the quick, definitive solutions to the most common questions about making perfect fried chicken tenders at home.
Can I bake these chicken tenders instead of frying?
Yes, you can bake them. Place the coated tenders on a greased, parchment-lined baking sheet. Bake at 400°F for 15-20 minutes, flipping them halfway through. The result will be less shatteringly crisp than deep-fried, but they will still be golden and delicious.
How long do fried chicken tenders last?
Store leftover tenders in an airtight container in the refrigerator for up to 3 days. To reheat, use an oven or air fryer at 375°F for a few minutes. This method helps restore their crispiness much better than a microwave.
What is the best oil for frying chicken tenders?
Use a neutral oil with a high smoke point. Vegetable, canola, or peanut oil are all excellent choices. They can maintain the high heat (350°F) needed for frying without burning or imparting a strong flavor to the chicken.
Can I use chicken breasts instead of tenderloins?
Absolutely. Slice boneless, skinless chicken breasts into 1-inch wide strips to mimic tenderloins. Because they are often thicker, they may need an extra minute or two of frying time. Always check that the internal temperature reaches 165°F.
What are the estimated calories per serving?
Nutrition varies based on ingredients and brands used. A general estimate for one serving is approximately 350-400 calories. For the most accurate count, use a nutrition calculator with the specific products you have in your kitchen.
Time to Make Your Perfect Fried Chicken Tenders
You are all set to create the ultimate crispy, juicy fried chicken tenders right in your own kitchen. Remember the magic trio: the buttermilk soak for tenderness, the double dredge for that incredible crunch, and keeping your oil perfectly hot. This recipe turns a simple favorite into a special homemade meal that feels like a hug on a plate.
I would love to hear how your batch turns out. Tell me all about it in the comments below. For more easy, family-friendly dinner ideas that never skimp on flavor, come follow me on Pinterest. Happy frying.
Fried Chicken Tenders
Equipment
- Large bowl or zip-top bag
- Shallow dishes (2)
- Large heavy-bottomed pot or Dutch oven
- Cooking thermometer
- Slotted spoon
- Wire rack
- Baking sheet
Ingredients
For the Marinade
- 2 pounds chicken tenderloins
- 1 ½ cups buttermilk
- 2 teaspoons salt
- 2 teaspoons sugar
- ¼ teaspoon paprika
- ¼ teaspoon garlic powder
For the Coating
- 2 cups all-purpose flour
- 1 ½ teaspoons salt
- ½ teaspoon black pepper
- 2 large eggs
- 3 tablespoons milk
- 1 teaspoon baking powder
For Frying
- 3 to 4 cups vegetable oil
Instructions
- In a large bowl or zip-top bag, combine the buttermilk, 2 teaspoons salt, sugar, paprika, and garlic powder. Add the chicken tenderloins and stir to coat. Let the chicken marinate in the refrigerator for at least 1 hour, or up to 4 hours.
- In a shallow dish, combine the flour, 1 ½ teaspoons salt, and black pepper. In a second shallow dish, whisk together the eggs, milk, and baking powder to make a wet batter.
- Remove the chicken from the marinade, letting any excess drip off. Dredge each tenderloin in the flour mixture to coat it completely. Then dip it into the egg mixture, ensuring it’s fully submerged. Finally, dredge it back into the flour mixture for a second coating. Shake off any excess flour.
- Pour the vegetable oil into a large, heavy-bottomed pot or Dutch oven to a depth of about 2 to 3 inches. Heat the oil over medium-high heat until it reaches 350°F. Use a thermometer for accuracy.
- Carefully add the coated chicken tenders to the hot oil in batches, without overcrowding the pot. Fry for 4 to 5 minutes per side, or until golden brown and cooked through. Keep the oil temperature between 325°F and 350°F during frying.
- Remove the fried chicken tenders from the oil with a slotted spoon and place them on a wire rack set over a baking sheet to drain and stay crispy.
- Serve the chicken tenders immediately with your favorite dipping sauces.