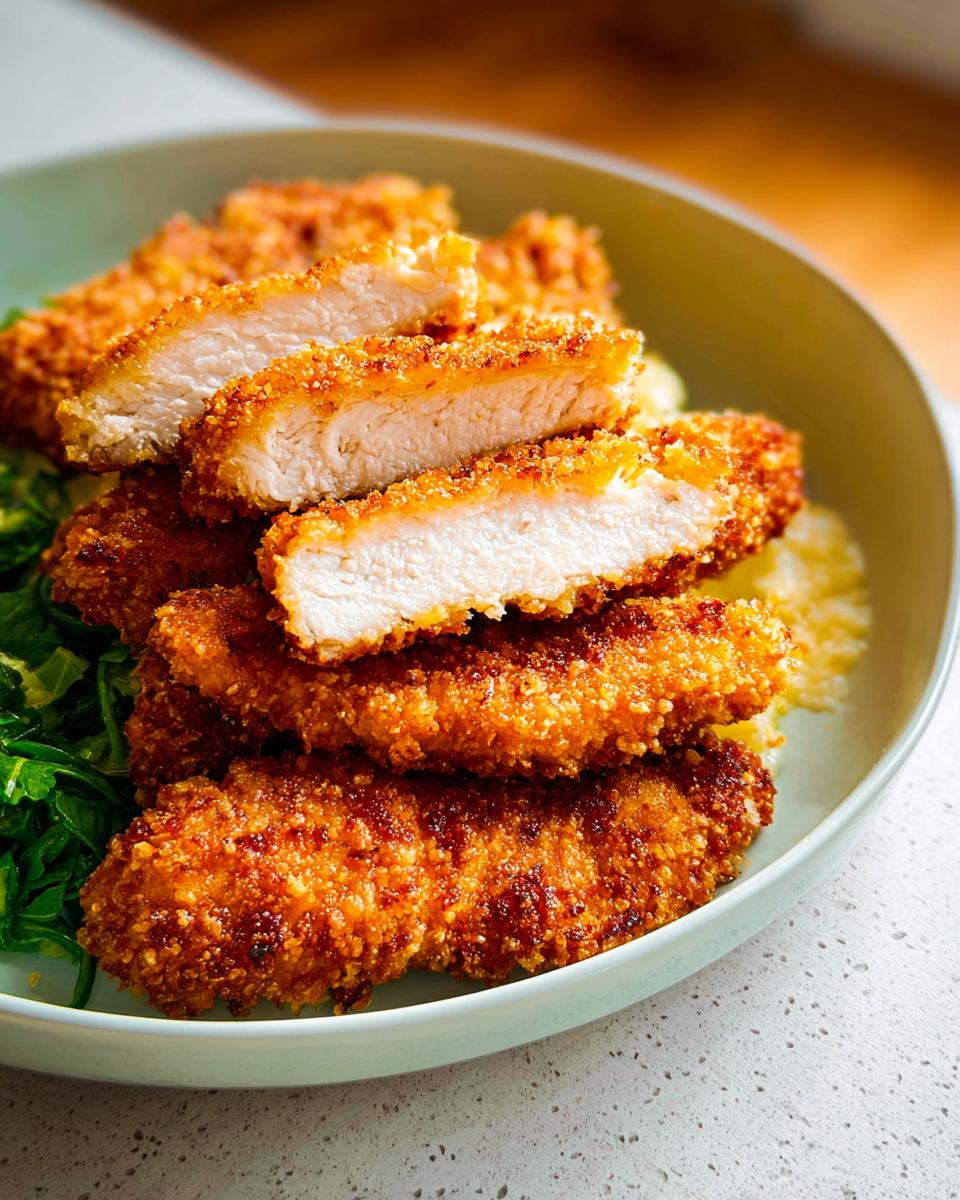
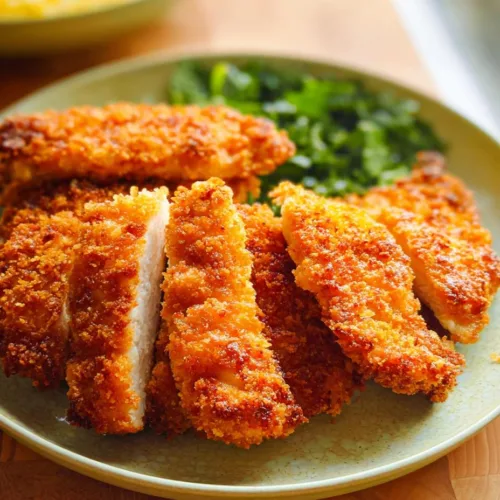
Is there anything better than the sound of a perfectly crisp piece of fried chicken? That satisfying crunch that gives way to tender, juicy meat is pure comfort. My easy Fried Panko Chicken recipe delivers that restaurant-quality magic right in your own skillet, and the secret isn’t complicated. It’s all about using those light, flaky panko breadcrumbs.
I perfected this method after many family dinners where I craved that incredible texture without the fuss. This is the ultra-crispy, golden-brown chicken tenderloin recipe I turn to when I need a surefire hit on a busy weeknight. It uses simple pantry spices and a straightforward breading technique I promise you can master. Let’s walk through the recipe together.
Table of Contents
Why You’ll Love This Fried Panko Chicken
This recipe is my weeknight superhero. It turns basic ingredients into something spectacular with minimal effort. Here is exactly why it works so well.
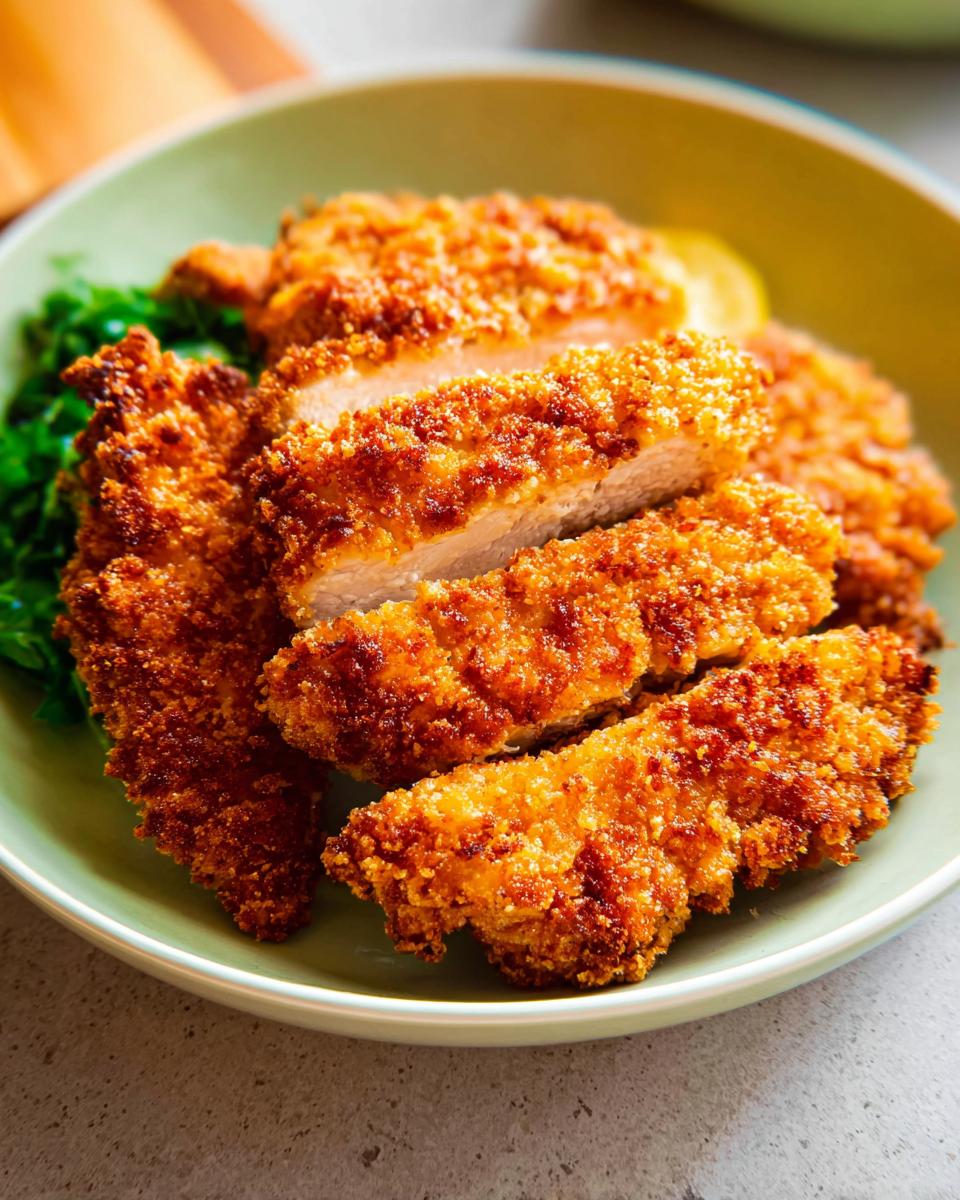
- Unbeatable Crunch: Panko breadcrumbs create a shatteringly crisp, golden crust that stays crunchy even after it cools a bit. You get that perfect audible crunch with every bite.
- Foolproof Setup: The three-bowl breading station (flour, egg, panko) is simple and organized. It makes the coating process clean and keeps your kitchen from becoming a disaster zone.
- Big Pantry Flavor: We use garlic powder, onion powder, and paprika. These common spices build a savory, well-rounded flavor that makes the chicken taste amazing on its own.
- Quick Cook Time: Once the oil is hot, the tenderloins fry in just 3-4 minutes per side. You can have dinner on the table in about 30 minutes total.
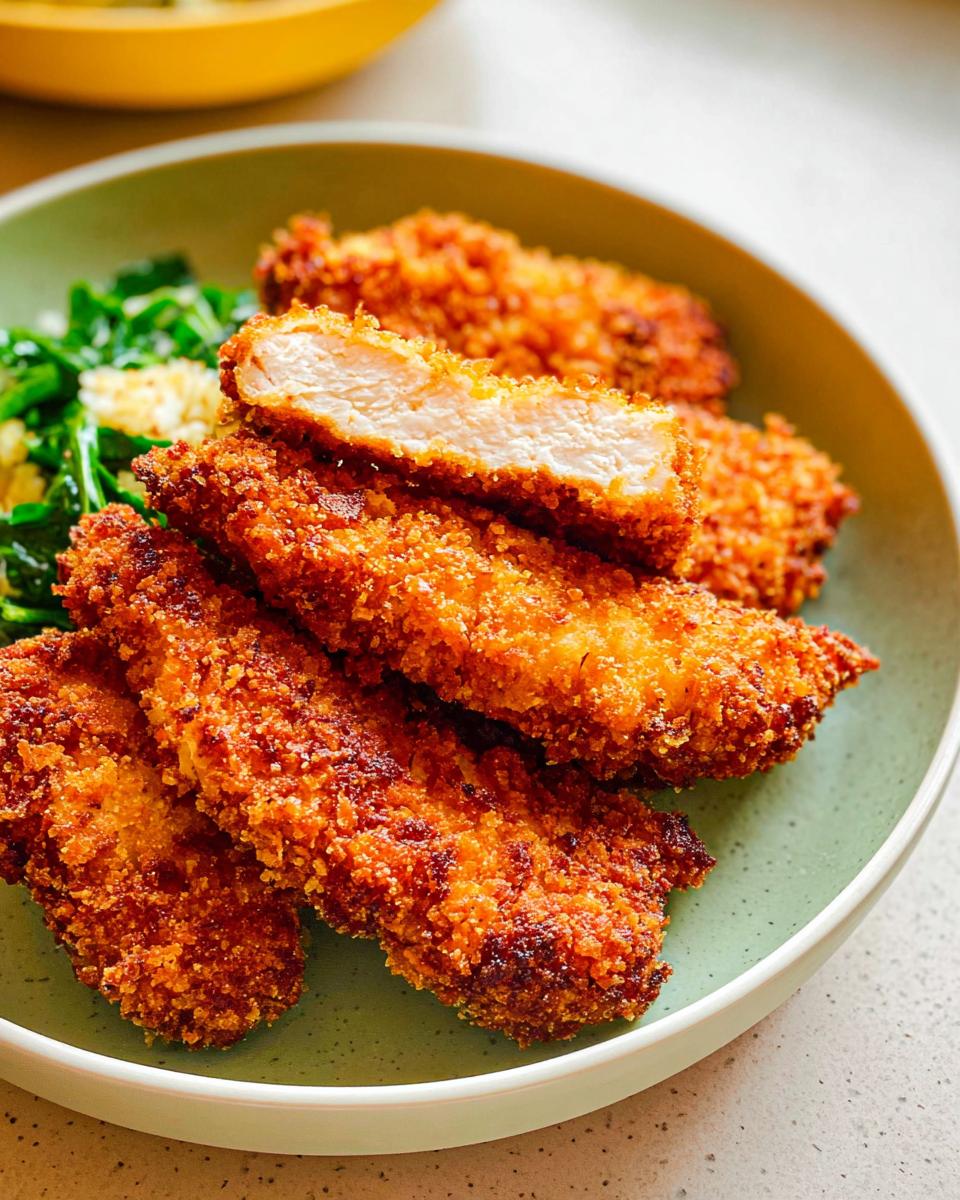
- Meal Versatility: This crispy panko chicken is the ultimate base. Serve the tenderloins straight up with dipping sauce, slice them for salads, or pile them high on a soft bun for an epic sandwich.
- Family Favorite: My kids cheer when they see this on the menu. It is a reliable, crowd-pleasing recipe that makes everyone happy, which is the ultimate win for any easy fried chicken recipe.
It is straightforward, satisfying, and delivers fantastic results every single time.
Ingredients You’ll Need
This recipe relies on a simple, three-step breading station. Getting your ingredients prepped correctly is the secret to a coating that sticks beautifully and fries up crisp.
- Chicken: 1 ½ pounds boneless, skinless chicken tenderloins. If using breasts, slice them into 1-inch strips. Pat them completely dry with paper towels. Any moisture will make the breading slide right off.
- Flour Dredge: ½ cup all-purpose flour mixed with 1 ½ teaspoons of salt. This first layer creates a foundation for the egg wash to cling to.
- Egg Wash: 2 large eggs, 3 tablespoons of milk (or water), and ½ teaspoon of salt whisked together. The eggs act as the glue between the flour and the panko.
- Panko Coating: 1 cup of panko breadcrumbs, 1 teaspoon garlic powder, 1 teaspoon onion powder, ½ teaspoon paprika, and ¼ teaspoon black pepper. This is where the magic happens.
- For Frying: ½ cup of vegetable or canola oil. You need enough to generously coat the bottom of your skillet for even frying.
Ingredient Notes: Panko breadcrumbs are key. They are lighter and flakier than regular crumbs, giving you that signature airy crunch. Always use large eggs to ensure you have enough wash. For a gluten-free version, swap in gluten-free panko and a gluten-free flour blend. It works perfectly.
Gather everything and set up your bowls before you start. This little bit of organization makes the whole process feel effortless.
How to Make Fried Panko Chicken
The magic of this crispy chicken happens in a few simple steps. Follow this order, and you will get a golden, crunchy crust that sticks perfectly.
Step 1: Set Up Your Breading Station
First, grab three shallow dishes or bowls. A pie plate or wide soup bowl works great. In the first dish, mix your all-purpose flour and 1 ½ teaspoons of salt. In the second dish, whisk together your two eggs, milk (or water), and the remaining ½ teaspoon of salt until it is smooth. In the third dish, combine your panko breadcrumbs, garlic powder, onion powder, paprika, and black pepper. Line them up on your counter in this order: flour, egg, panko. This setup keeps your workflow clean and prevents a big, clumpy mess.
Step 2: Dredge and Coat the Chicken
Take your chicken tenderloins and pat them dry one more time with paper towels. This is your last chance to remove any moisture. Now, using one hand for the dry steps, take a tenderloin and dredge it in the flour mixture. Coat it evenly, then shake off any loose flour. Next, dip that same piece into the egg wash. Let the excess drip back into the bowl for a few seconds. Finally, place it into the panko mixture. Use your other hand to press the crumbs gently onto all sides. You want a full, even coat. Place each beautifully breaded piece on a clean plate. Repeat with all the chicken.

Step 3: Heat the Oil and Fry
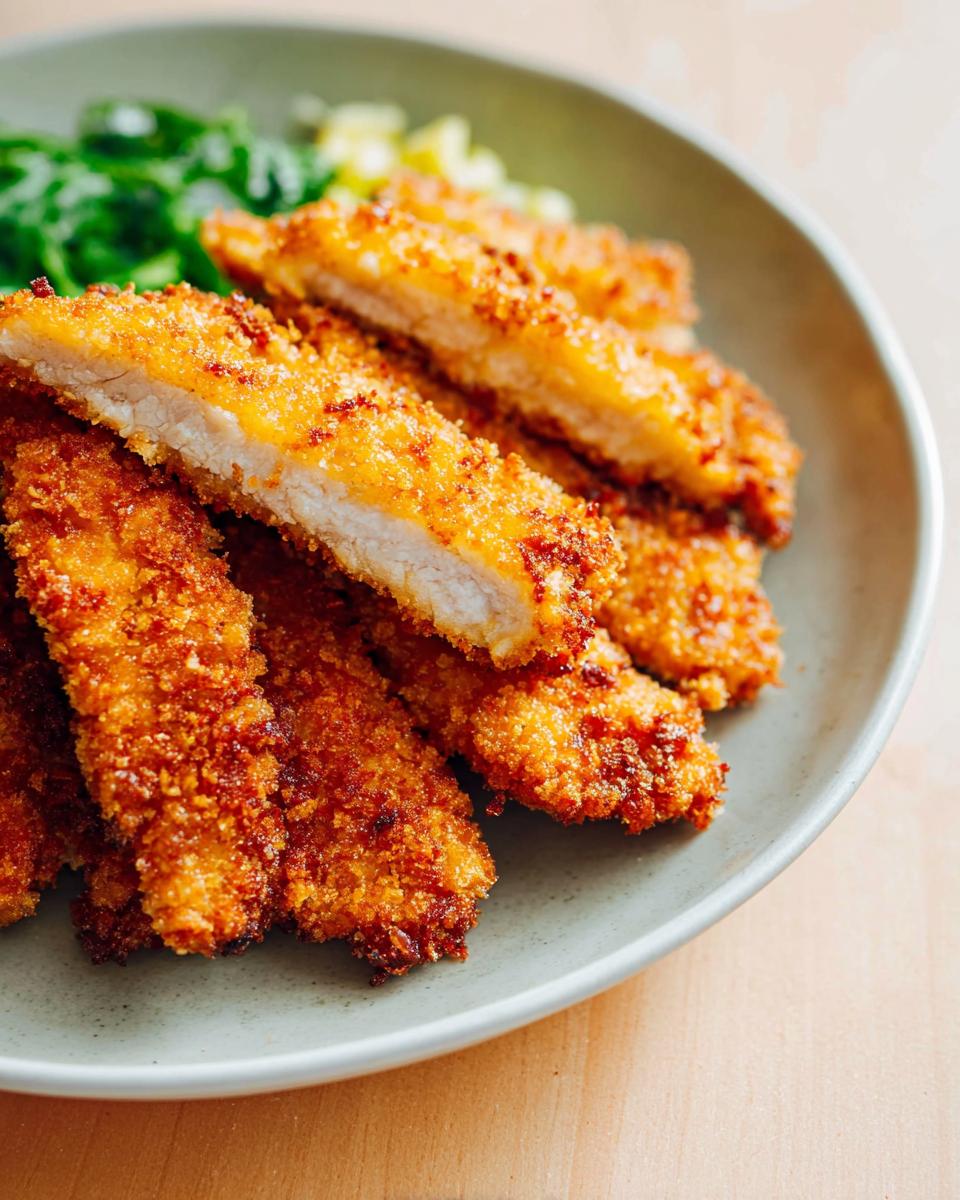
Pour your oil into a large, heavy-bottomed skillet. Heat it over medium-high heat. You want the oil to shimmer and be hot, but not smoking. To test, drop a few panko crumbs into the oil. They should sizzle and float immediately. Once hot, carefully add 3 or 4 chicken tenderloins to the oil. Do not crowd the pan. Let them fry undisturbed for about 3 to 4 minutes. The underside should become a deep, golden brown. Then, flip each piece carefully. Fry for another 3 to 4 minutes until the second side is equally golden and the chicken is cooked through. You can check by cutting into one piece. The meat should be white and juicy, not pink.
Step 4: Drain and Keep Crispy
This is the most important step for crunch. As soon as each batch is done, take the chicken out of the oil and place it on a wire rack set over a baking sheet. Do not put it directly on paper towels. The rack lets air circulate so steam does not get trapped underneath. That steam is what makes the bottom of your chicken soggy. Let the pieces rest on the rack for about 5 minutes. This allows the crust to set and any excess oil to drip away. Then, repeat the frying process with your remaining batches until all your chicken is gloriously golden and crisp.
Pro Tips for the Best Fried Panko Chicken
These simple tricks make all the difference between good chicken and truly great, crispy fried panko chicken. They are my secrets for a flawless crust.
- Toast Your Panko: For a deeper golden color and a nuttier flavor, toast your panko breadcrumbs in a dry skillet over medium heat for 2-3 minutes before using them. Stir often until they are lightly browned and fragrant. Let them cool slightly in the bowl.
- The Two-Hand Method: Use one hand for the dry ingredients (flour and panko) and the other hand for the wet egg wash. This keeps your fingers from becoming a clumpy, breaded mess and makes the whole process much cleaner.
- Let the Coating Set: After breading, let the chicken sit on the plate for about 5 minutes before frying. This brief rest helps the coating adhere better so it is less likely to fall off in the hot oil.
- Watch the Oil Temperature: Keep your heat at a steady medium-high. If you add too many pieces at once, the oil temperature will drop. This causes the chicken to absorb oil and become greasy instead of crisp. Fry in small batches.
- Use a Splatter Screen: This is my favorite kitchen tool for frying. A simple splatter screen keeps your stovetop clean and prevents painful oil pops. It is a game-changer for easy cleanup.
Follow these panko breading tips, and you will have the crispiest, most delicious chicken every single time.
Common Mistakes to Avoid
We all make little mistakes in the kitchen, especially when we are rushing. Avoiding these common pitfalls will guarantee your fried panko chicken turns out perfectly crispy and never soggy.
- Not Drying the Chicken: Why it happens: A damp chicken tenderloin creates a barrier between the meat and the flour. How to fix it: Always, always pat each piece completely dry with paper towels before you even touch the flour bowl. This is the most important step for good adhesion.
- Overcrowding the Pan: Why it happens: Adding too many pieces cools the oil down fast. How to fix it: Fry in small batches of 3 or 4 pieces. This keeps the oil hot so the coating seals instantly and fries up crisp, not greasy.
- Using Cold Oil: Why it happens: If the oil isn’t hot enough, the breading absorbs it instead of cooking. How to fix it: Heat your oil over medium-high until it shimmers. Test it by dropping a single panko crumb in. It should sizzle and float immediately.
- Skipping the Wire Rack: Why it happens: Putting hot chicken on paper towels traps steam underneath. How to fix it: Always drain your finished chicken on a wire rack over a baking sheet. The air flow keeps every part of that gorgeous crust crunchy.
Don’t panic if you make a mistake. Just adjust for the next batch. Your second batch will be even better than the first.
Delicious Variations
This fried panko chicken recipe is your perfect canvas. Once you master the basic method, try one of these easy twists to keep dinner exciting. Each one adds a new layer of flavor with almost no extra work.
- Spicy Kick: Craving some heat? Simply add 1 teaspoon of cayenne pepper or smoked paprika directly into your panko mixture before breading. It gives the crust a beautiful red hue and a warm, spicy flavor that pairs perfectly with cool ranch dressing.
- Herb-Crusted: For a fresh, garden-inspired twist, mix 2 tablespoons of finely chopped fresh parsley or dill into the panko crumbs. The herbs add bright color and a lovely, aromatic flavor that makes the chicken feel extra special.
- Parmesan Panko: This is a family favorite. Add ½ cup of finely grated Parmesan cheese to the panko coating. It creates a savory, cheesy, umami-rich crust that gets incredibly golden and flavorful. It is amazing on its own or with marinara sauce for dipping.
- Oven-Baked Method: Want a lighter, hands-off version? Preheat your oven to 425°F. Place the breaded chicken on a wire rack set over a baking sheet. Bake for 15 to 18 minutes, flipping halfway through, until the crust is golden and the chicken is cooked through. The result is still very crispy, just with less oil.
Do not be afraid to experiment. Mix and match these ideas to create your own signature crispy chicken.
Serving Suggestions
This crispy fried panko chicken is the star of the show, but what you serve it with turns a great meal into a fantastic one. Here are my favorite ways to plate it up for any occasion.
- The Classic Comfort Dinner: Serve two or three tenderloins alongside creamy mashed potatoes and simple roasted broccoli or green beans. A big bowl of honey mustard or homemade ranch dressing for dipping is absolutely essential. This is my go-to for a satisfying weeknight meal that feels like a hug on a plate.
- Ultimate Crispy Chicken Sandwich: Pile this golden chicken high on a soft brioche bun or potato roll. Add a swipe of mayo, a crisp leaf of lettuce, and a juicy slice of tomato. For an extra kick, a dollop of spicy mayo or a few pickles takes it over the top. It is a restaurant-quality sandwich you can make in minutes.
- Salad Superstar: Let the chicken cool for a few minutes, then slice it into strips. Toss those crispy strips right on top of a fresh Caesar salad or a big garden salad. The warm, crunchy chicken against the cool, crisp lettuce is a perfect textural contrast that makes a simple salad feel like a main event.
- Kid-Friendly Feast: Cut the cooked tenderloins into bite-sized pieces for little hands. Serve them with a side of ketchup, some sweet potato fries or tater tots, and maybe some apple slices. This plate makes everyone happy and dinner cleanup a breeze.
- Easy Party Appetizer: For a crowd, keep the tenderloins whole and arrange them on a big platter. Set out small bowls of different dipping sauces like barbecue sauce, sriracha mayo, and sweet chili sauce. They disappear fast and are always the first thing gone at a potluck.
No matter how you serve it, this versatile chicken is ready to be the hero of your meal.
FAQs About Fried Panko Chicken
Can I bake this Fried Panko Chicken instead?
Yes, you can bake it for a lighter option. Preheat your oven to 425°F. Place the breaded chicken on a wire rack over a baking sheet. Bake for 15 to 18 minutes, flipping halfway, until golden and the internal temperature reaches 165°F. The crust will be deliciously crispy, though slightly less shattering than the fried version.
How do I store and reheat leftovers?
Store cooled leftovers in an airtight container in the fridge for up to 3 days. To reheat, use an air fryer or oven at 375°F for 5-7 minutes. This method restores the crunch. Avoid the microwave, as it will make the crust soft and soggy every time.
Can I use chicken breasts instead of tenderloins?
Absolutely. Use boneless, skinless chicken breasts. Just slice them into 1-inch thick strips or pound them into even cutlets. This ensures they cook through at the same rate as tenderloins, giving you that perfect juicy interior and crispy exterior.
What are the nutrition facts?
Nutrition can vary based on your specific ingredients and brands. A general estimate per serving is about 450 calories, with 25g of protein, 22g of fat, and 30g of carbohydrates. For the most accurate count, I recommend using an online nutrition calculator with the exact brands you have in your kitchen.
Can I make this gluten-free?
Yes, it works great. Use a certified gluten-free 1:1 flour blend for the first dredge and gluten-free panko breadcrumbs for the coating. All other steps and cooking times remain exactly the same for a perfectly crispy, gluten-free result.
Time to Make Your Crunchy Masterpiece
You have all the secrets now. Making this golden, incredibly crispy Fried Panko Chicken at home is a simple process with a huge payoff. It is about the joy of that first bite, the crunch your family loves, and the pride of a perfect weeknight meal. I hope you feel confident to try it.
I would love to hear how your kitchen adventure goes. Did your kids cheer? Did you try the spicy variation? Tell me all about it in the comments below. For more easy, family-friendly recipes that bring everyone to the table, find me on Pinterest. Now, go make some crunch.
Fried Panko Chicken
Equipment
- Large skillet
- Wire rack
- Baking sheet
- Three shallow dishes
Ingredients
- 1 ½ pounds boneless, skinless chicken tenderloins
- 1 cup panko breadcrumbs
- ½ cup all-purpose flour
- 2 teaspoons salt divided
- 1 teaspoon garlic powder
- 1 teaspoon onion powder
- ½ teaspoon paprika
- ¼ teaspoon black pepper
- 2 large eggs
- 3 tablespoons milk or water
- ½ cup vegetable oil or canola oil for frying
Instructions
- In a shallow dish, combine the panko breadcrumbs, garlic powder, onion powder, paprika, and black pepper.
- In a second shallow dish, mix the all-purpose flour and 1 ½ teaspoons of salt.
- In a third shallow dish, whisk together the eggs, milk or water, and the remaining ½ teaspoon of salt.
- Pat the chicken tenderloins dry with paper towels. This helps the breading stick better.
- Dredge each chicken tenderloin first in the flour mixture, coating evenly and shaking off any excess.
- Next, dip the floured tenderloins into the egg mixture, letting any excess drip off.
- Finally, coat the tenderloins thoroughly with the panko mixture, pressing gently to ensure the crumbs adhere well.
- Heat the vegetable oil in a large skillet over medium-high heat until shimmering.
- Carefully place 3-4 chicken tenderloins into the hot oil, being careful not to overcrowd the pan.
- Fry for about 3-4 minutes per side, until golden brown and cooked through.
- Remove the cooked tenderloins from the skillet and place them on a wire rack set over a baking sheet to drain any excess oil.
- Repeat with the remaining chicken tenderloins.