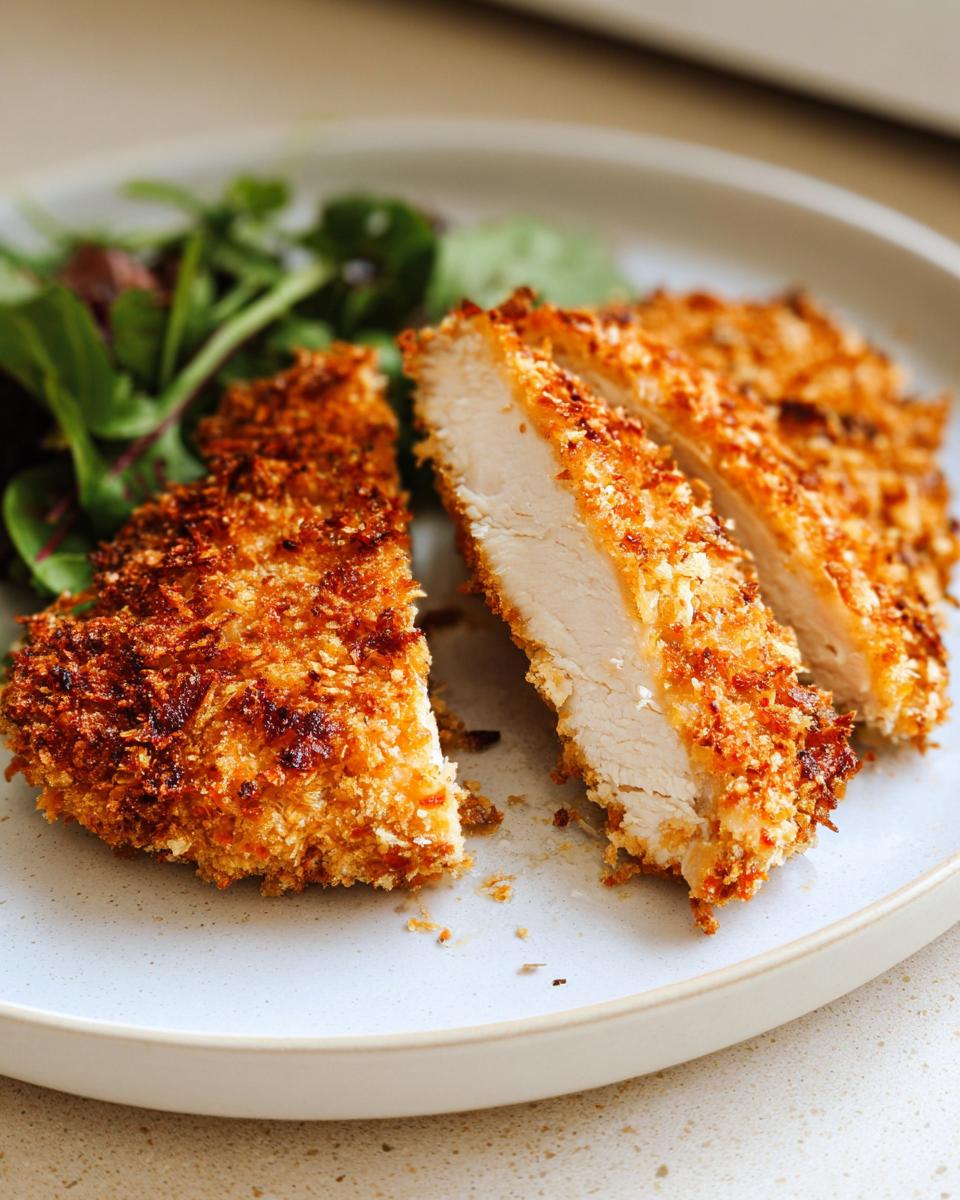
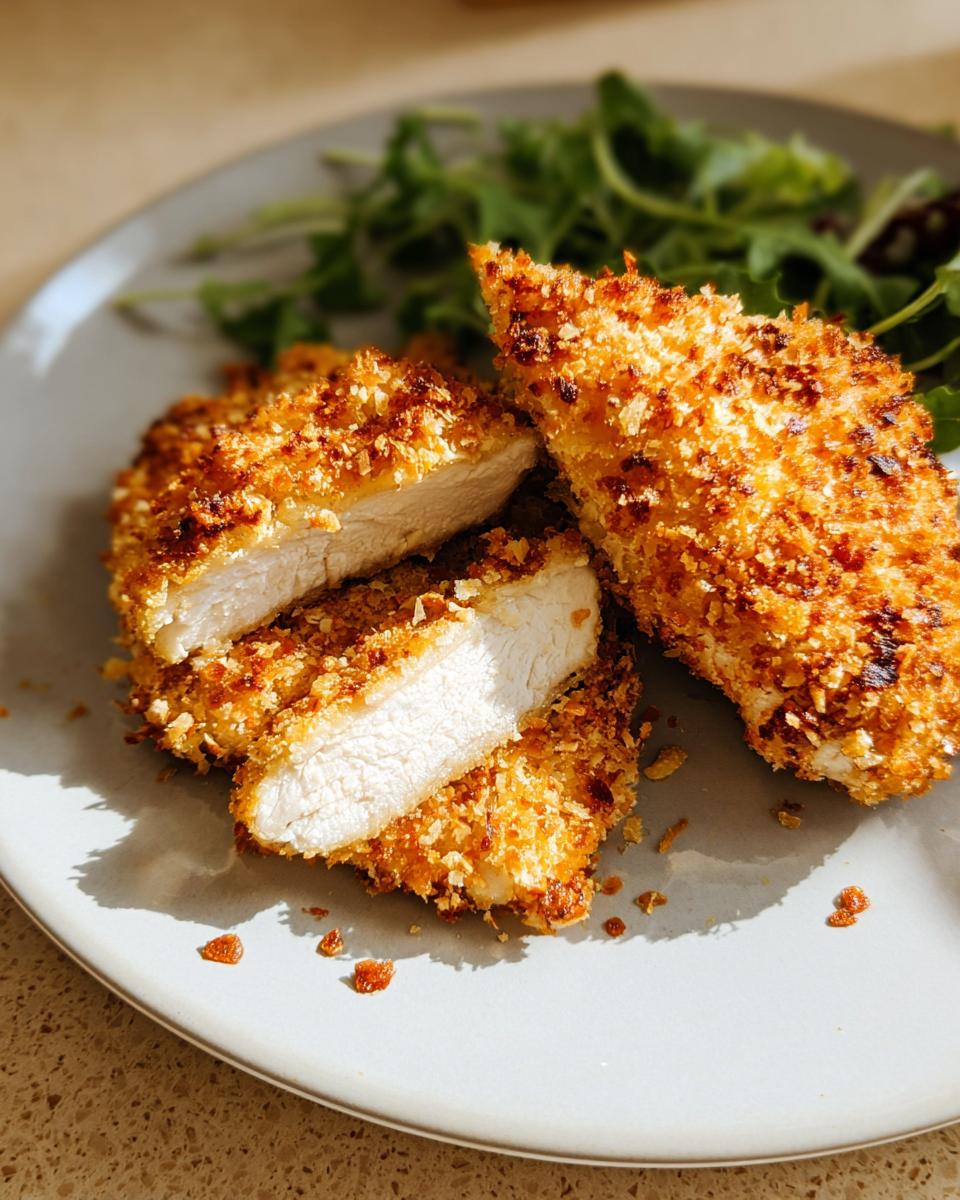
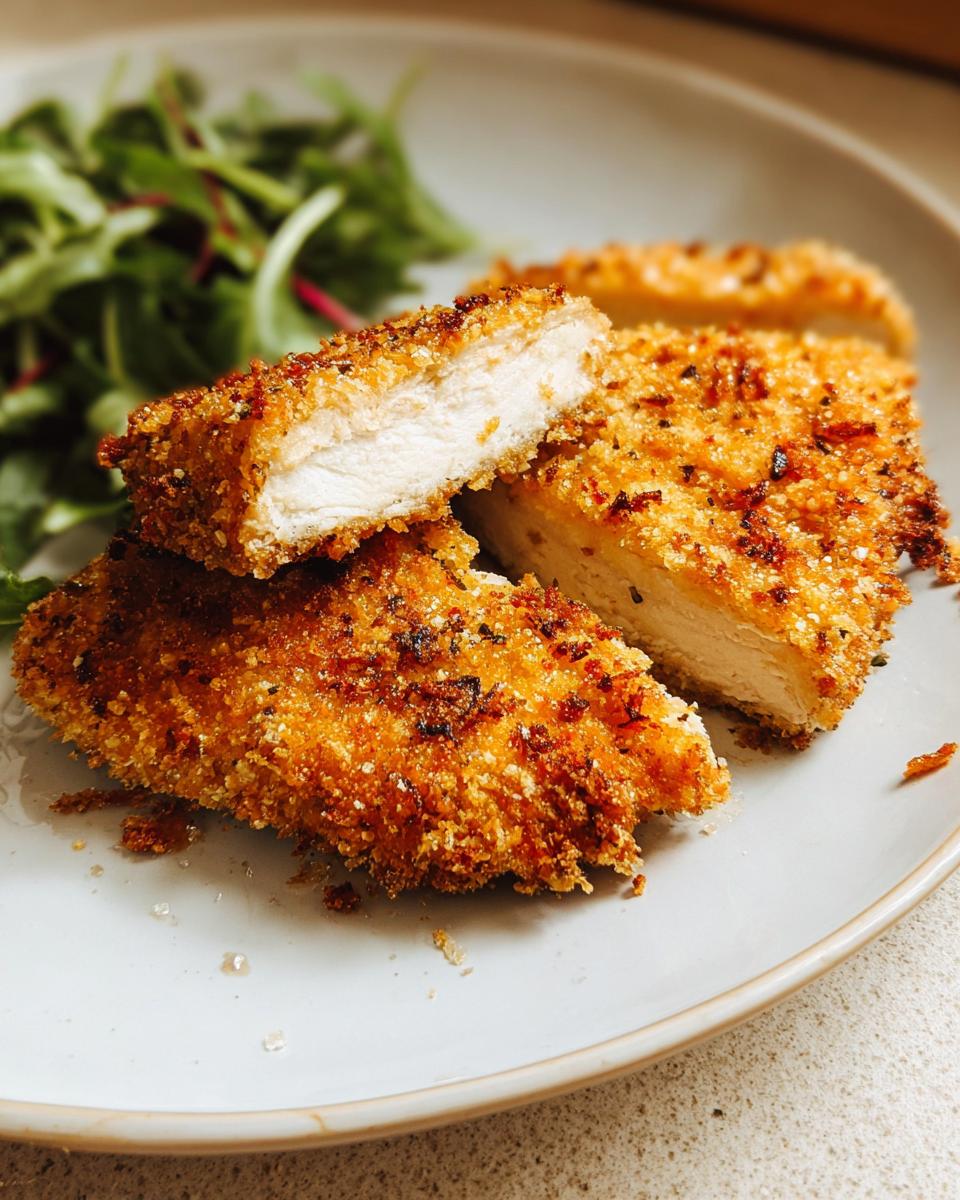
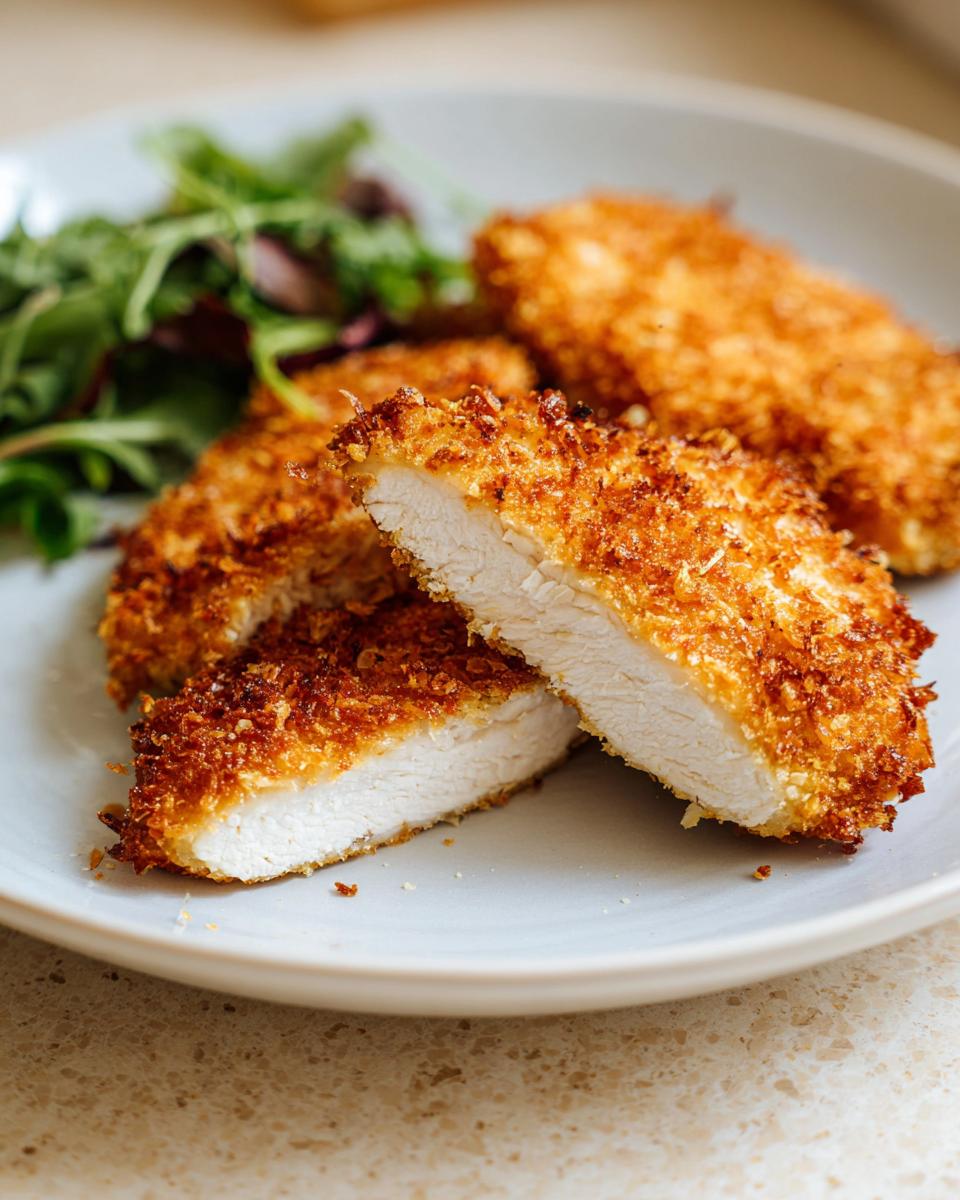
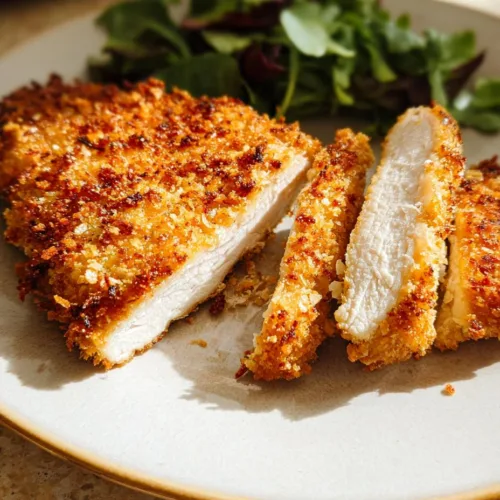
Ever crave that perfect, crispy chicken cutlet but dread the splatter and mess of frying? I know the feeling. These Air Fryer Chicken Cutlets are my secret for getting that golden, restaurant-quality crunch with almost no oil and even less cleanup.
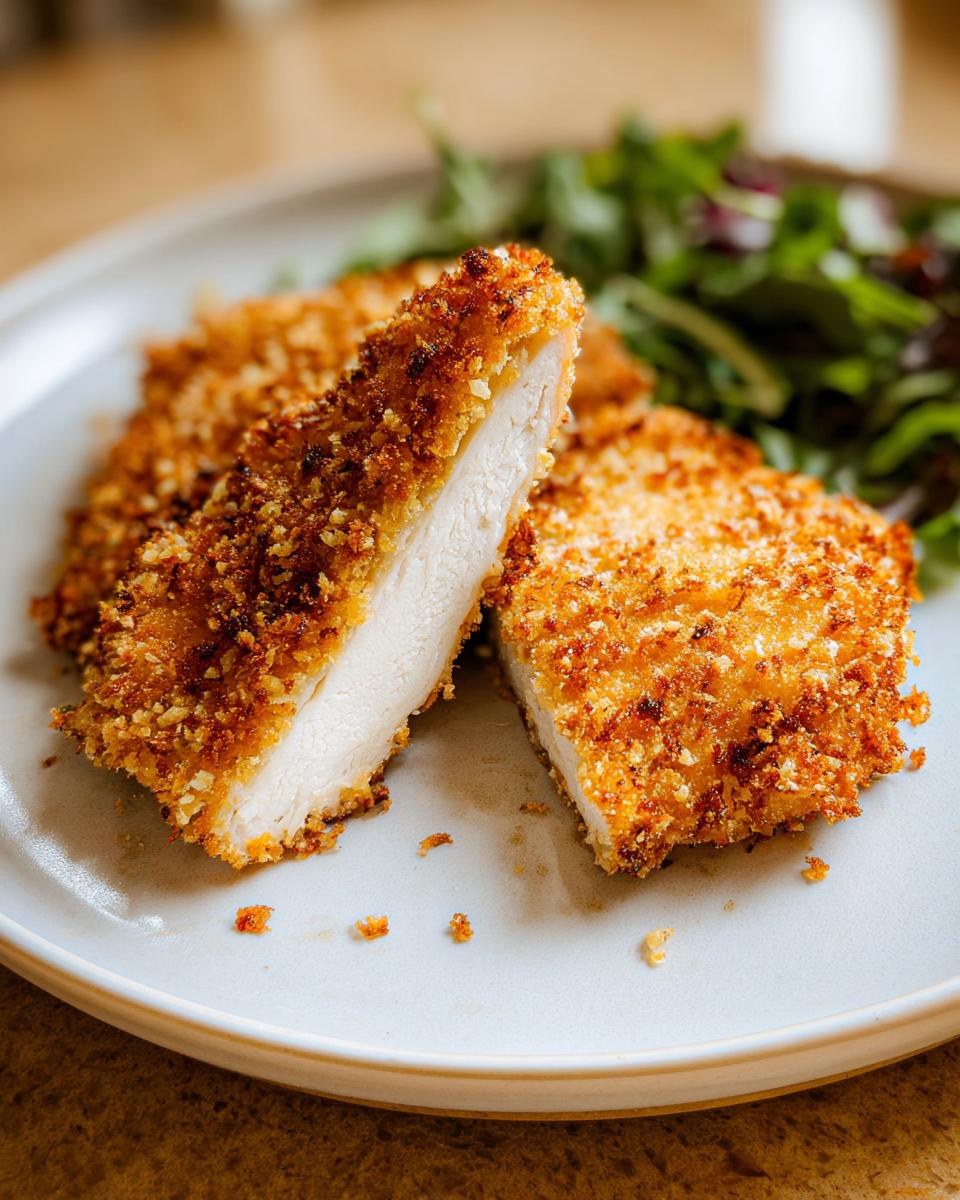
The secret to amazing air fryer chicken isn’t complicated. It’s about a simple, seasoned coating and trusting your appliance to do the hard work. This method became a weekly lifesaver in my kitchen, delivering juicy, tender chicken inside a shatteringly crisp shell every single time. It’s the dinner my family cheers for on busy nights.
First, let’s walk through exactly how to make them.
Table of Contents
Why You’ll Love These Air Fryer Chicken Cutlets
This recipe is a game-changer for your weekly meal plan. It turns a craving into a reality in under 30 minutes. Here’s exactly why it’s become a staple in my home.
- Healthier, Not Heavy: We use just a light spray of oil. You get all the satisfying crunch of a fried cutlet without the greasy feeling or a sink full of dirty pans.
- Fast Weeknight Fix: From prep to plate in about 27 minutes. It’s faster than driving for takeout, perfect for those hungry-everyone nights when time is tight.
- Consistently Crispy: The air fryer’s circulating heat gives you a reliably golden, crunchy coating every time. No soggy spots or uneven browning.
- Juicy Inside, Crispy Outside: Cooking at high heat seals in moisture. Your chicken stays tender and never dries out, which I’ve tested over dozens of batches.
- Versatile for Any Meal: Serve them whole, slice them for salads, or stack them in sandwiches. They work for a fancy dinner or a simple lunch.
- Easy Cleanup Champion: One basket to wash. No splattered stovetop or oily skillets. It’s the cleanup dream I wish every recipe had.
It’s the kind of dependable, delicious recipe you’ll come back to again and again.
Ingredients You’ll Need
You don’t need a pantry full of fancy items to make magic. This list is short, simple, and everything works together to build that perfect crispy, juicy bite.
- 3 boneless, skinless chicken breasts: Look for large ones. Make sure they’re fully thawed. This makes slicing them into even cutlets much easier and safer.
- 2 large eggs: Whisk them until completely smooth. This creates a uniform glue for your crispy coating to stick to.
- 1 cup Panko breadcrumbs: This is my non-negotiable tip. Panko gives you that light, shattering crunch. Regular breadcrumbs will make a denser, softer coating.
- ½ cup grated Parmesan cheese: Use the finely grated kind from a tub, not shredded. It blends seamlessly into the Panko and sticks beautifully.
- ¼ teaspoon garlic powder & ¼ teaspoon onion powder: These dry powders add a ton of savory depth without adding any moisture that could soften your crust.
- Salt and freshly ground black pepper, to taste: Don’t be shy here. Season the raw chicken generously on both sides. This flavor goes right into the meat.
- Cooking spray: You’ll use this for two quick sprays: one on the air fryer basket and one on the tops of the breaded cutlets. It helps with crispiness and prevents sticking.
One handy substitution: For a gluten-free version, swap the Panko with almond flour or crushed gluten-free cornflakes. You’ll still get a great texture.
Together, these ingredients create a balance of savory flavor, incredible crunch, and tender chicken. Let’s get cooking.
How to Make Air Fryer Chicken Cutlets
This process is simple, but a few key steps make all the difference. Follow these instructions for cutlets that are crispy, golden, and perfectly cooked through.
Step 1: Prepare and Season the Chicken
Take one large chicken breast and lay it flat on your cutting board. Using a sharp knife, carefully slice through it horizontally, like you’re opening a book. This turns one thick breast into two thinner cutlets. Do this with all three breasts. Aim for uniform thickness, about half an inch thick. This ensures they all cook at the same rate. Now, season both sides of each piece generously with salt and pepper. This simple step flavors the meat itself, not just the coating.
Step 2: Create the Crispy Coating
In a shallow bowl or plate, mix your dry ingredients. Combine the Panko breadcrumbs, grated Parmesan, garlic powder, and onion powder. Stir them until they are completely blended. Doing this first means every bit of coating that touches your chicken will have the right balance of crunch and savory flavor. No bland spots.
Step 3: Dredge for Maximum Adhesion
Set up your station: one bowl with the whisked eggs, one with the Panko mix. Take a seasoned cutlet and dip it fully into the egg, letting the excess drip off. Then, place it into the breadcrumb mixture. Press down gently but firmly on both sides. This helps the coating really embed into the egg layer. A pro tip: use one hand for the wet egg step and your other hand for the dry breadcrumb step. It keeps your fingers from getting too clumpy.
Step 4: Preheat and Arrange in the Air Fryer
Now, preheat your air fryer to 400°F (200°C). This takes about 5 minutes. Preheating is crucial. It means your cutlets start crisping immediately when they hit the basket, not slowly warming up. Lightly spray the basket with cooking spray to prevent sticking. Arrange your breaded cutlets in a single layer. Do not let them overlap or crowd each other. If you need to cook in batches, do it. Good air flow is the secret to that all-around crunch.
Step 5: Cook to Golden Perfection
Give the tops of the cutlets a light spray with cooking spray. This helps the coating brown beautifully. Air fry for 10 to 12 minutes. At the halfway point, around 5-6 minutes, flip each cutlet carefully. You’ll see them starting to turn golden. The true sign they are done is not just color, but temperature. Insert a meat thermometer into the thickest part of a cutlet. It must read 165°F (74°C). When they’re hot, crispy, and golden, they’re ready.
Pro Tips for the Best Air Fryer Chicken Cutlets
These little tricks are what I learned after making this recipe dozens of times. They turn a good result into a perfect one.
- Dry Chicken is Key: Pat your chicken breasts dry with a paper towel before slicing and seasoning. Any moisture on the surface creates a barrier, making it harder for the egg wash and breadcrumbs to stick securely.
- Let the Coating Set: After breading, let the cutlets sit on a plate for 5 minutes before cooking. This short rest lets the egg layer dry a bit, which helps lock the coating on during the air fryer’s intense heat. It prevents the breadcrumbs from falling off.
- Trust the Thermometer: Color can be tricky. A golden crust might hide undercooked chicken. Insert a meat thermometer into the thickest part. When it reads 165°F (74°C), you know your chicken is both safe and juicy. This is my foolproof method.
- Allison’s Flavor Secret: For a warm, smoky depth, add a pinch of smoked paprika to your Panko mix. It’s a simple swap that makes these cutlets taste even more special.
- Reheat Like a Pro: Leftovers stay crispy! Store them in an airtight container. To reheat, pop them back in the air fryer at 350°F for 3-4 minutes. They come out hot and crunchy, not soggy.
Follow these tips, and you’ll have the most flavorful, crispy air fryer chicken cutlets every single time.
Common Mistakes to Avoid
Even simple recipes have little pitfalls. Knowing these common mistakes will help you nail perfect air fryer chicken cutlets on your first try.
- Overcrowding the Basket: Air fryers need space for the hot air to circulate. If you pack the cutlets in, they’ll steam instead of crisp. The fix is simple. Cook them in a single layer, even if it means doing two quick batches.
- Skipping the Preheat: Starting with a cold air fryer means your cutlets will cook slowly at first, which can lead to a soggy coating. Always take that 5 minutes to preheat to 400°F. It gives you instant, aggressive crisping right from the start.
- Not Checking Temperature: A golden brown crust can look done, but the chicken inside might still be undercooked. Don’t guess. Use a digital meat thermometer. Insert it into the thickest part. When it hits 165°F, you have safe, juicy chicken every time.
- Using Shredded Parmesan: Those little shreds don’t blend into the Panko well. They can create clumps and fall off. The solution is to use finely grated Parmesan from a tub. It mixes in evenly and creates a seamless, crispy coat that sticks.
Don’t panic if you make a mistake. Just adjust next time, and your cutlets will be even better.
Delicious Variations
The beauty of this recipe is its simple base. Once you master it, you can play with flavors to match any mood or meal. Here are my favorite twists.
- Italian Herb Cutlets: Add 1 teaspoon of dried Italian seasoning to your Panko mix. It gives you that classic, herby flavor perfect for serving with marinara sauce and pasta.
- Spicy Kick: Mix ½ teaspoon of cayenne pepper into the dry coating. It adds a warm, building heat that’s fantastic for dipping in a cool ranch or yogurt sauce.
- Lemon-Parmesan: Add the zest of one lemon to the breadcrumbs before mixing. The bright, citrusy flavor cuts through the richness and makes these cutlets feel fresh and light.
- Everything Bagel Style: Swap out the garlic and onion powder entirely. Use 2 tablespoons of everything bagel seasoning in your Panko mix instead. You get that iconic savory, garlicky, sesame crunch.
Feel free to experiment. A tablespoon of ranch seasoning powder or a swap with crushed pork rinds for extra crispiness also works wonderfully.
Serving Suggestions
These crispy cutlets are the ultimate versatile main. They shine on their own but also love to play with other dishes. Here are my favorite ways to serve them, based on real-life dinners at my table.
- Classic Weeknight Dinner: Serve a whole cutlet alongside creamy mashed potatoes and simple steamed green beans. It’s a comforting, complete plate that feels like a hug after a long day.
- Light & Crisp Lunch: Slice a cutlet into strips and toss them over a big, crunchy Caesar salad. The warm, crispy chicken against the cool lettuce is a textural dream.
- Picnic or Potluck Hero: Slice them thin and layer them in sandwiches or wraps with mayo, lettuce, and tomato. They hold up beautifully and travel well, making them the star of any gathering.
- Family Cookout Main: Offer these as the protein centerpiece next to sweet corn on the cob and a tangy vinegar-based coleslaw. It’s a crowd-pleasing combo that works for any backyard barbecue.
- Pasta’s Perfect Partner: Slice or chop a cutlet and scatter it over a bowl of Alfredo pasta or a simple garlic butter noodle. It adds a hearty, crispy element that transforms the dish.
Remember, they’re perfect as a standalone main or sliced for salads, pasta, and sandwiches. Their flexibility is what makes this recipe a true keeper.
FAQs About Air Fryer Chicken Cutlets
You’ve got questions, I’ve got straightforward answers. Here’s everything you need to know for perfect results.
Can I use chicken thighs instead of breasts?
Yes, you can use boneless, skinless chicken thighs. Make sure they are of a uniform thickness, similar to your cutlets. The cooking time may be slightly shorter, as thighs are often a bit thinner. Always check with a meat thermometer for an internal temperature of 165°F.
How do I store and reheat leftovers?
Store leftover cutlets in an airtight container in the refrigerator for up to 3 days. To reheat, place them back in the air fryer at 350°F for 3 to 4 minutes. This method restores the crispy texture perfectly, unlike a microwave which would make them soggy.
Do I really need to flip the chicken halfway through?
Yes, flipping is essential. The air fryer’s heat comes from the top. Flipping ensures both sides get direct exposure to that heat, giving you an evenly golden and crispy crust on all sides. Don’t skip this step.
What’s the nutritional information for this recipe?
Each cutlet is approximately 270 calories and provides about 22 grams of protein. These are estimates. Actual values can vary based on the specific size of your chicken breasts and the brands of ingredients you use.
Can I make this recipe gluten-free?
Absolutely. For a gluten-free version, substitute the Panko breadcrumbs with an equal amount of gluten-free breadcrumbs, almond flour, or finely crushed gluten-free crackers. The method remains exactly the same, and you’ll still achieve a delicious, crispy coating.
Your New Go-To Chicken Dinner
These Air Fryer Chicken Cutlets are everything you want from a weeknight meal. They are easy to make, healthier than frying, incredibly crispy, and versatile enough for any occasion. I know you’ll love how they turn a simple craving into a spectacular dinner in just minutes.
I’d love to hear how yours turn out. Tell me in the comments what you served them with or your favorite variation. For more easy, family-friendly air fryer magic, follow me on Pinterest. Here, crispy, juicy perfection is always just a few clicks away.
Crispy Air Fryer Chicken Cutlets Perfection
Equipment
- Air fryer
- Shallow dishes
Ingredients
- 3 boneless, skinless chicken breasts
- 2 large eggs
- 1 cup Panko breadcrumbs
- ½ cup grated Parmesan cheese
- ¼ teaspoon garlic powder
- ¼ teaspoon onion powder
- Salt and freshly ground black pepper to taste
- Cooking spray
Instructions
- Slice each chicken breast in half horizontally to create cutlets, resulting in six pieces. Season both sides of each cutlet generously with salt and pepper.
- In a shallow dish, combine the Panko breadcrumbs, grated Parmesan cheese, garlic powder, and onion powder. Mix well until all ingredients are evenly distributed.
- In a separate shallow dish, whisk the eggs until smooth.
- Dredge each seasoned chicken cutlet first in the beaten eggs, ensuring it’s fully coated. Then, transfer it to the breadcrumb mixture, pressing gently on both sides to help the coating adhere.
- Preheat your air fryer to 400°F (200°C) for about 5 minutes. Lightly coat the air fryer basket with cooking spray. Arrange the breaded cutlets in a single layer in the basket, being careful not to overcrowd them.
- Lightly spray the tops of the breaded cutlets with cooking spray to enhance crispiness. Air fry for 10 to 12 minutes, flipping the cutlets halfway through. They are ready when golden brown and the internal temperature reaches 165°F (74°C).